Conquer Machine Tension Problems

How to Diagnose and Fix Tension Issues and Get Perfect Stitches Every Time!
Does your machine’s stitching look a bit off? That can be due to tension, and an easy adjustment will often fix the problem.
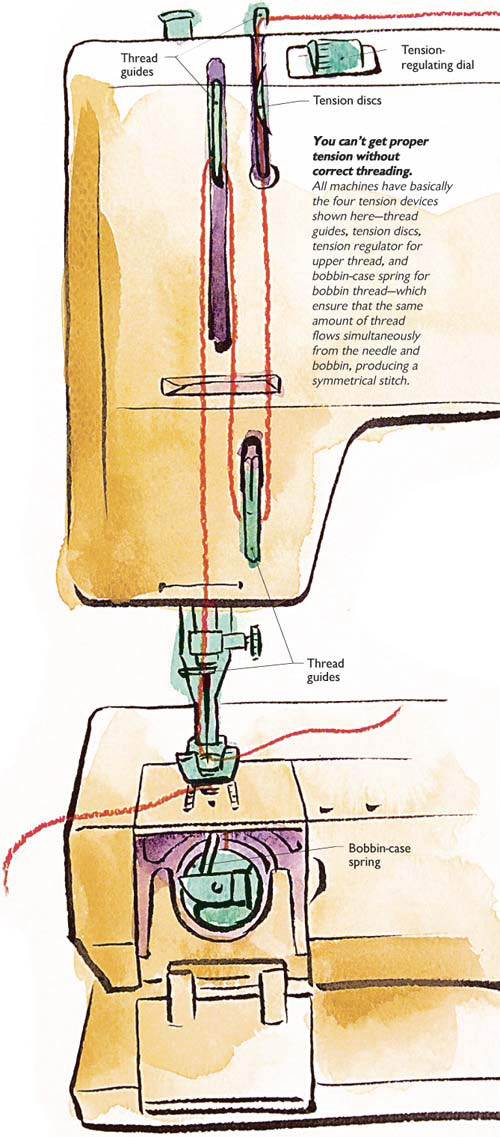
However, before you jump into adjusting the tension make sure the machine and bobbin are threaded properly, change the needle and dust away lint and loose threads.
Also check to make sure that you have the correct stitch width and length selected and that you’re using the right needle for the fabric. Many times the issue is not the tension at all so check those things first.
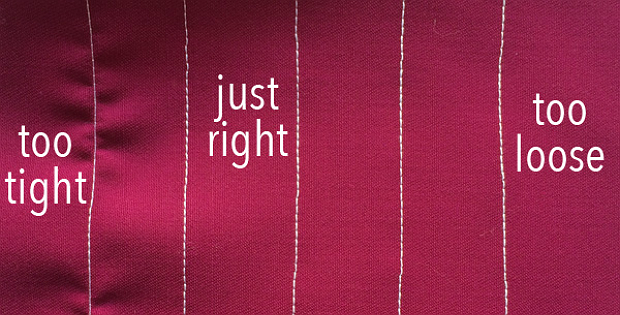
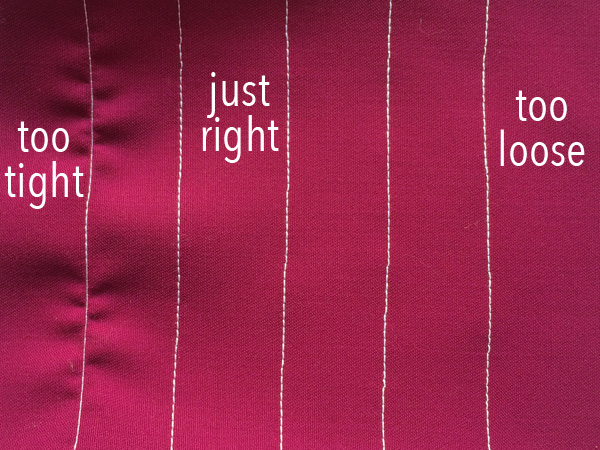
The following photos show you what varying degrees of tension do to straight stitches, both from the top and the bottom.
Top side of straight stitching.
Bottom side of straight stitching.
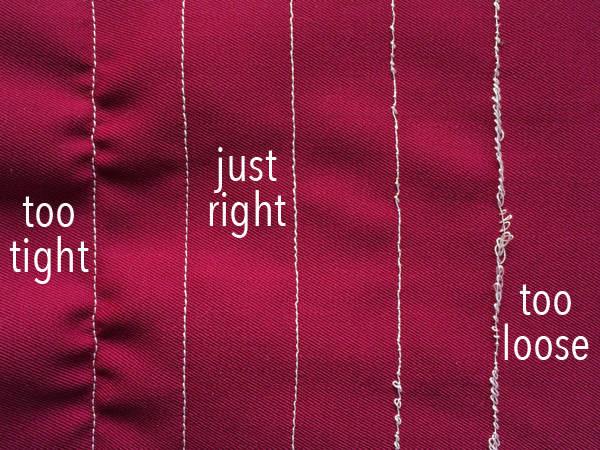
You can clearly see the stitches pulling the fabric when the tension is too tight, and creating unsightly loops underneath when it’s too loose.
Click here to see photos of zig zag stitches and of serger stitches.
Once you’ve checked everything else and have determined that the tension needs to be adjusted, then what?
It’s easy to adjust tension yourself, although you’ll want to proceed with small adjustments and track changes you’ve made. In fact, it’s good to understand your machine’s tension controls, and to run a test seam whenever you’re working with a different weight of thread or fabric. Those are the times when your tension is most likely to need adjusting.
Threads magazine has a wonderful article that explains what you need to know about tension. It covers the basics of what tension is and what affects it, as well as how to make changes and test the results. We recommend that you read the entire article and keep it handy for future reference.


