How to Make a Perfectly Flat Wide Binding

Try Something Different and Make the Binding a Design Element!
Most quilters have been taught to finish off their quilts with narrow bindings. These thin strips serve the purpose of finishing the edges while providing one last chance for a bit of accent color, if the quilter feels it’s needed.
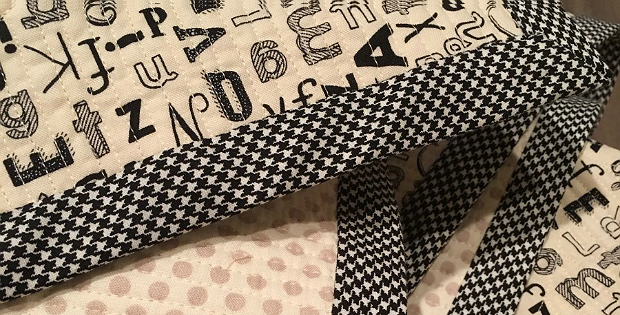
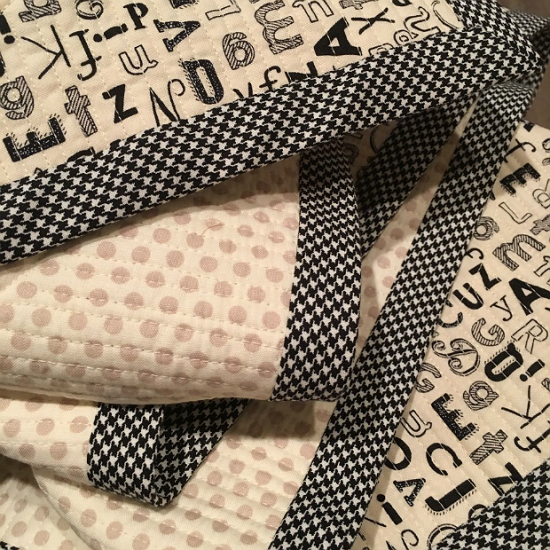
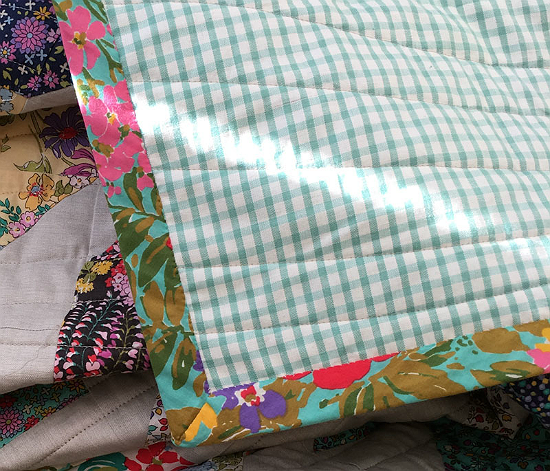
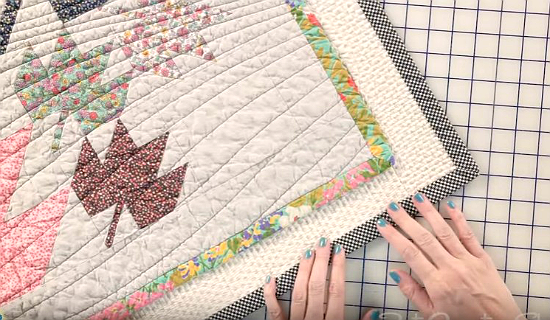
Wide bindings – 1/2″ or more – are seldom seen on today’s quilts but they provide intriguing design possibilities. Instead of just finishing the edges, wide bindings become design elements. Plus they look great, provided they aren’t too wide, and add something special to a quilt.
Quilt with a 3/4″ wide binding.
Like most things in quiltmaking, wide bindings require a special approach in order to lay perfectly flat and smooth. In the following video Carrie Nelson from Moda Fabric walks you through the steps.
Click here to watch the video on YouTube if it doesn’t play on your device.
She starts with strips that are 3″ wide for a 3/4″ wide binding with a 3/4″ wide seam allowance. While 3″ is a little wider than needed, the extra width makes it easy to fold down the back side for stitching.
Adjust the instructions in the demo to produce the width that you want. The Fat Quarter Shop has provided a chart of cutting widths for various finished binding sizes. Get it here.
Just be sure to follow Carrie’s suggestion for achieving an accurate seam width, making the seam allowance the same as the width of the finished binding.
Carrie has also written a tutorial about creating a wide binding, which is linked to below. It further illustrates the things covered quickly in the video.


