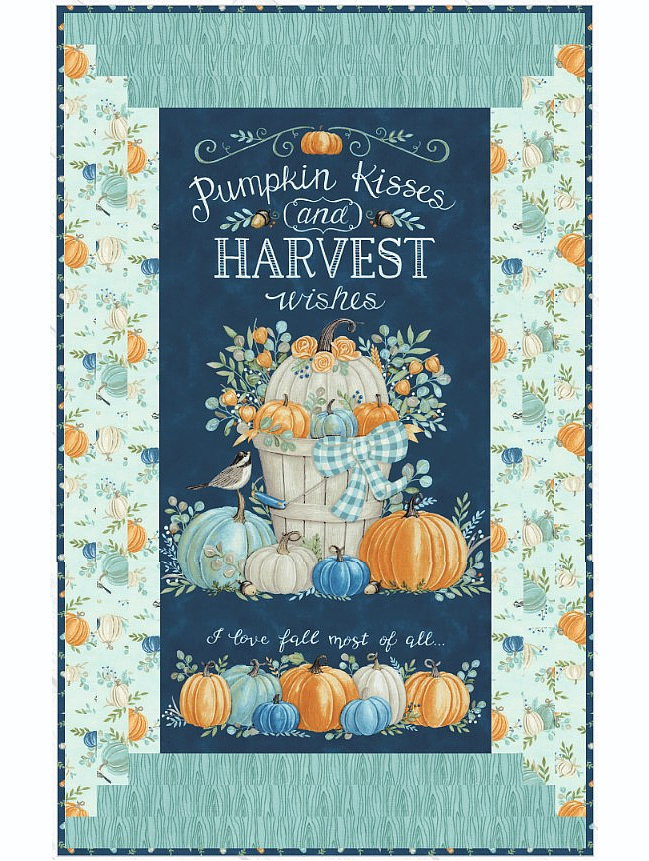
Turn a Panel Into a Quilt with Easy Borders
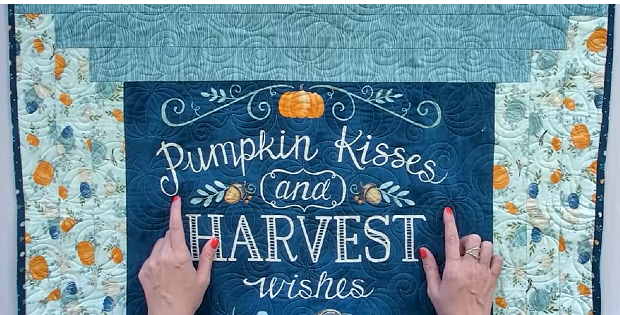
It Works with Panels of Any Size!
Do you have a fabric panel that you want to make into a quilt? There are an unlimited number of ways to add blocks and borders to increase the size of a panel and create a compelling overall quilt design that features the panel.
However, this simple design based on the Courthouse Steps block will look great with most panels and finishes up quickly. It’s also easy to adjust it to fit panels of any width.
Panels are designed to be the centerpieces of quilts and are usually either 24″ x 42″ or 36″ x 42″. The quilt in the examples starts with a 24″ x 42″ panel although you can easily lengthen the top and bottom strips for a wider panel.
Check your panel carefully before you start. If your panel is skewed you can follow the excellent instructions here to straighten it without having to trim it heavily to square it up.
Watch as Kimberly from the Fat Quarter Shop demonstrates how to make the borders in the following video.
Click here to watch the video at YouTube if it doesn’t play on your device.
Starting with a 24″ x 42″ panel as Kimberly did, the completed quilt is 34 1/2” x 54”. You can add more strips to make it larger if you want.
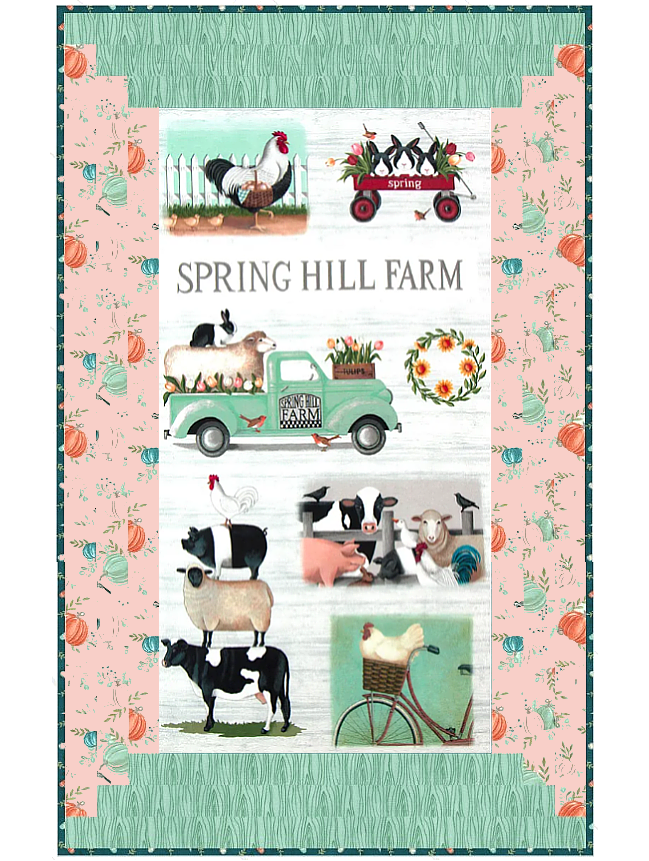
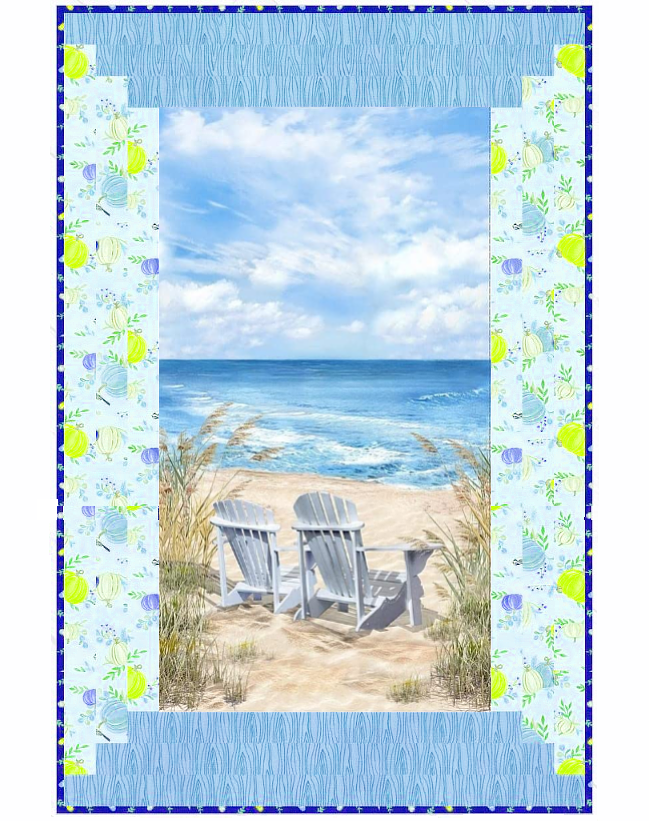
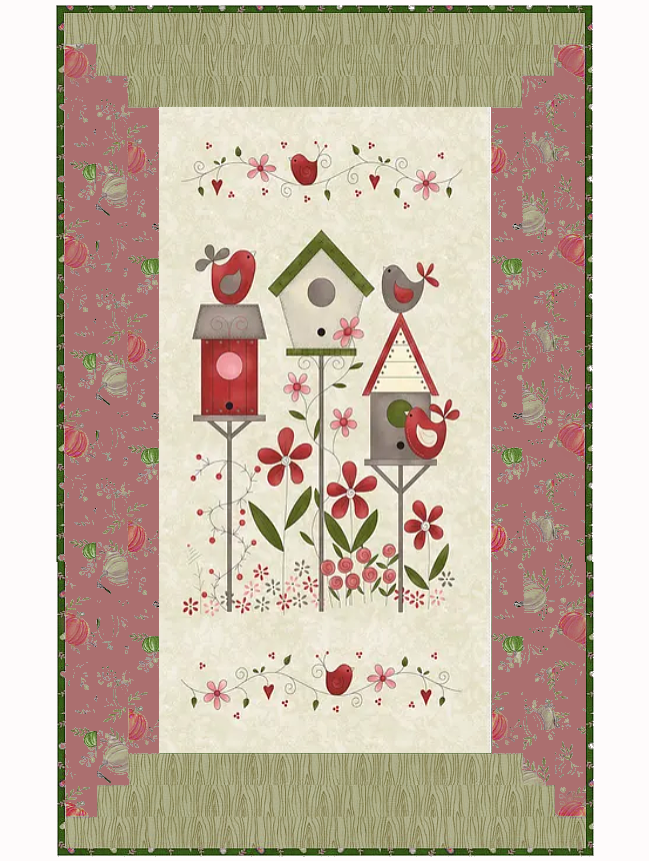
We played in Photoshop a bit to mock up examples using other panels to see how they might look. You can see that this border design will look great with most panels. Simply choose fabrics in colors and prints that complement the panels nicely.
The panel above can be found here while supplies last.
You’ll find nice selections of panels to choose from here and here.


