Curved Piecing – Simple Once You Know How!

Banish the Fear of Curved Piecing!
Quilts with curved piecing are increasingly popular. It’s easy to see why when you consider how curves open up so many design possibilities.
But, does curved piecing strike fear in your heart? Quilt blocks with curves can be a bit of a challenge, but we found some great tips to help you out.
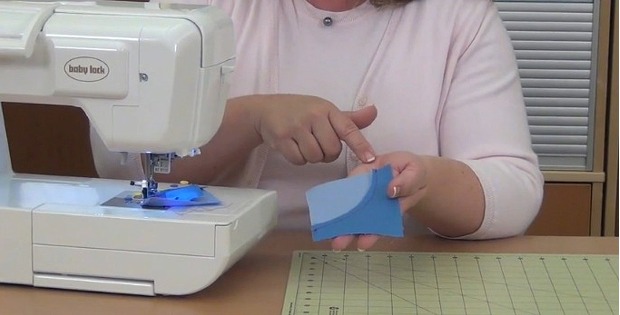
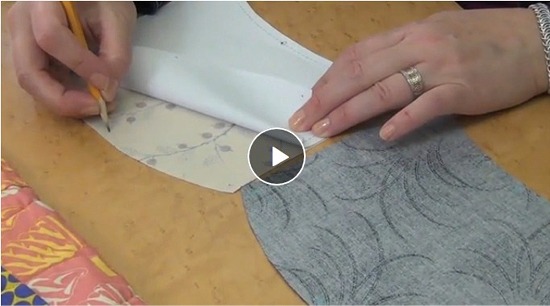
In this first video, notice how she marks the beginning, end and center of each curve with a dot. This is a great idea for making two curved pieces go together smoothly. Then, watch how she matches up those dots.
… the first thing you’re going to do is match your centers. I like to spear through my dots … I like to spear through first, and then put on my pin. And I’m going to make sure I put in my pin in this case with the head on the outside so that it’ll be easier when I’m sewing to take it out. Next I’m going to do the corners. So again, I’m going to spear through that dot and spear through that dot. (Editor: She’s saying to spear through the dot in one piece of fabric, then the dot on the second piece – then pin them together.)
Watch the video for full details.
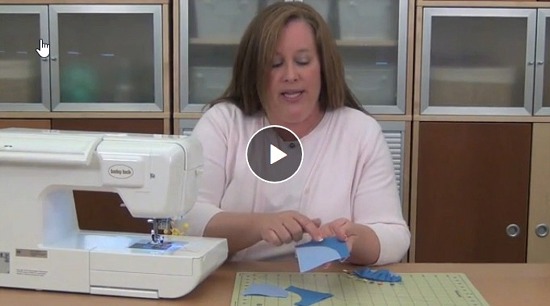
The second video provides a more thorough overview of the piecing process.
Now there are two rules to remember when you’re working with curved piecing.
One: pin. Pin more than you ever do. You might be pin averse or you might not pin in the rest of your quilting life, but for curved piecing, pins are essential.
Second: sew slowly. This isn’t a speed contest, and the more control you have as you’re sewing, the better.
Watch the video for her pinning process. It’s easy to see how that makes all the difference.
Start with a project with a gentle curve, and once you have a handle on that, move on to curves with sharper arcs to them. Before long you’ll be a master curved piecer!


