DIY Quilting Design Boards
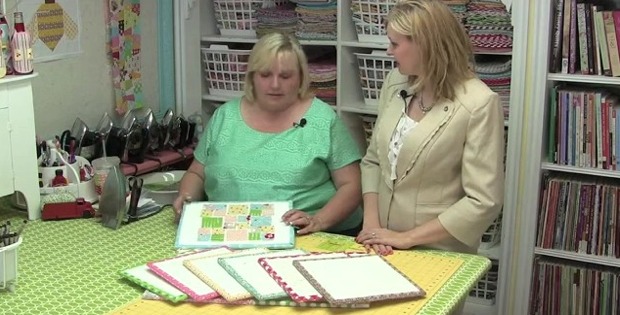
You Won’t Know How You Quilted Without These Design Boards!
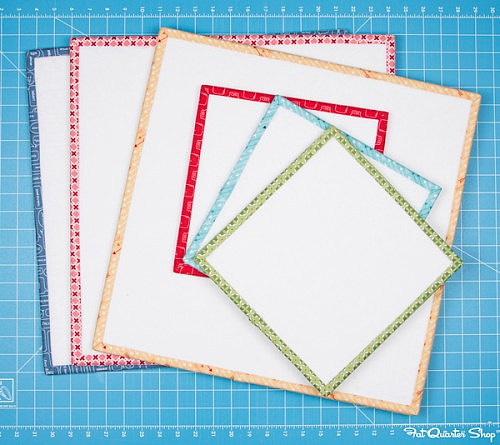
For over 20 years Lori Holt of Bee in Your Bonnet has been making and using ingenious little design boards. They’re easily constructed of foam core, batting and fabric strips. They’re so easy, and handy, that you’ll want to make several.
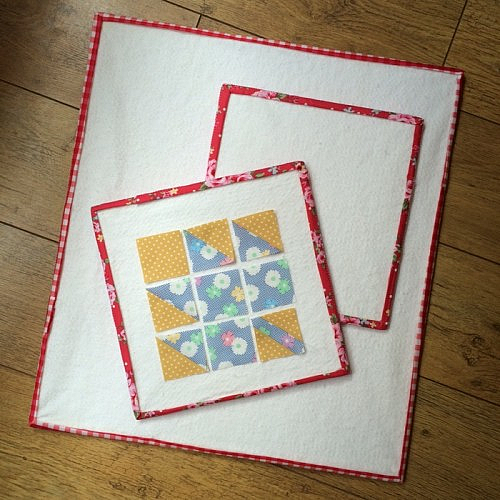
The boards are perfect for laying out quilt blocks, and then transferring the blocks from your cutting table to the machine for stitching.
The batting holds the pieces in place so you can see at a glance how the blocks go together. You’ll save a lot of time ripping out stitching errors once you have a stack of these boards to work with.
Photo courtesy of The Homemakery.
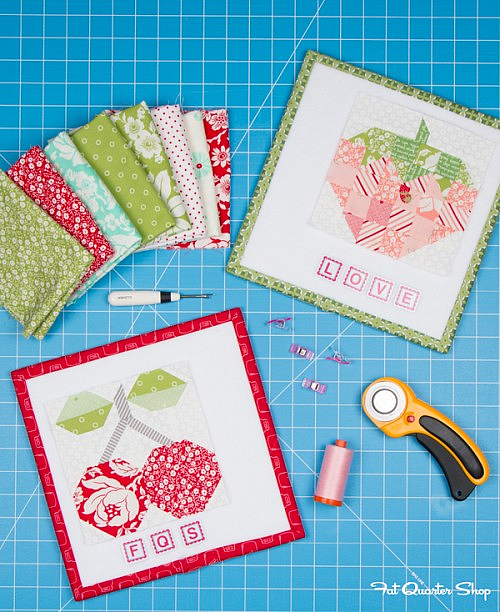
Lori lays out several blocks at a time, each on its own board, them stacks them. That way when she has a few minutes she can sit down and stitch together a block without having to remember how the pieces should go together.
You can make the boards any size you want but focus on boards that fit the block sizes you commonly work with. Both 10″ and 18″ boards are popular.
(Ready-made design boards in various sizes are available to purchase here.)
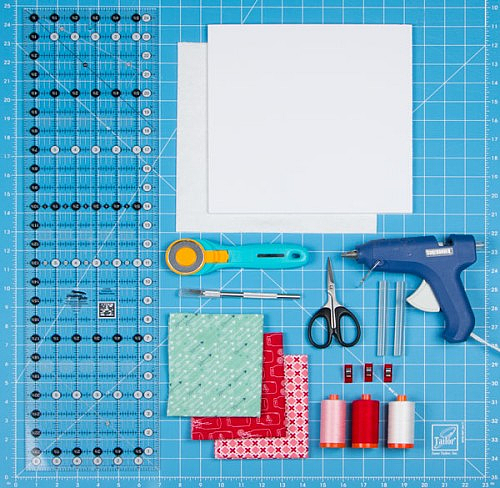
Foam core, which is typically 20″ x 30″, can be found at office supply, craft and dollar stores, and it’s inexpensive. You’ll also need a glue gun, batting, 2 1/2″ fabric strips and a few other items you probably already have on hand.
The following video shows you exactly how Lori puts these boards together.
Click here to watch the video at YouTube if it doesn’t play on your device.
The Fat Quarter Shop has an excellent photo tutorial.
For a more in-depth tutorial, visit Lori Holt’s version:
Ready-made design boards in various sizes are available to purchase here.


