How to Finish a Quilt with Scalloped Borders

It Will Take a Bit Longer But Scallops Are Easier Than You Might Think!
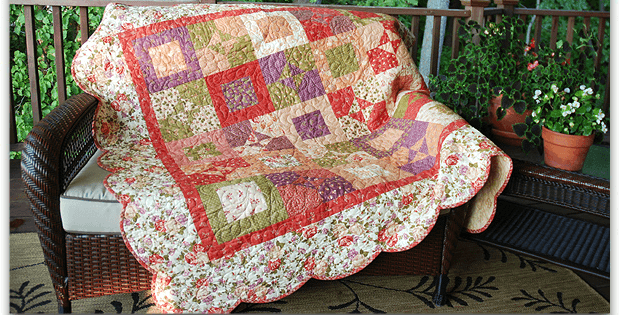
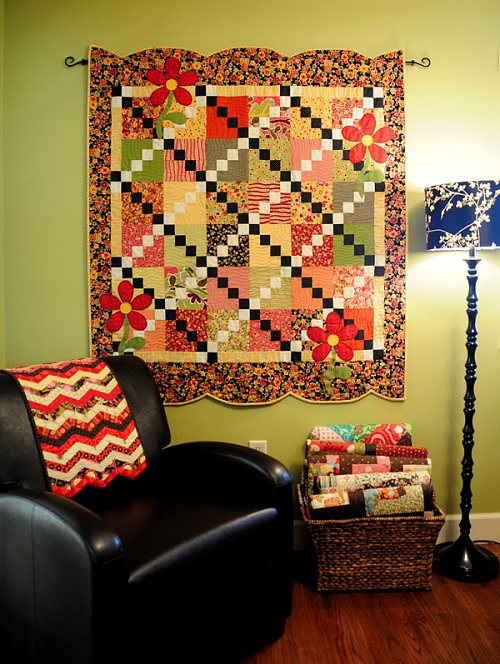
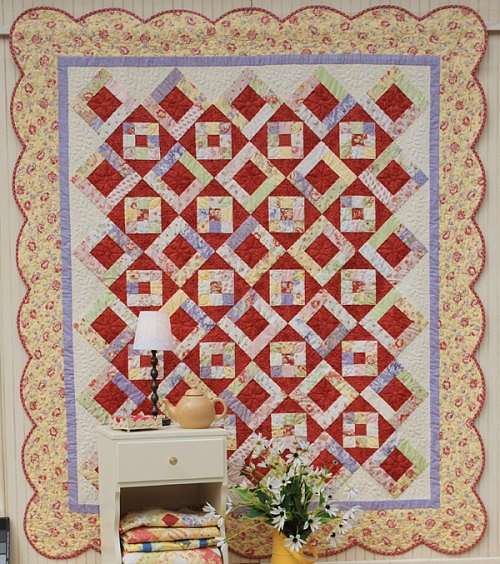
There’s nothing quite like scalloped edges to dress up a quilt. They add charm and a bit of whimsy and can be elegant too. If you haven’t made a scalloped border before you may be a bit intimidated by the idea. Relax. It’s easier than you might think!
There are two issues to resolve when making a border with curves: marking the curves evenly on all sides and binding them neatly to complete the quilt. Fortunately, Heather at Anka’s Treasures has provided us with excellent tutorials for tackling both steps.
First, take a look at the tutorial for binding curved borders. While this is the second and last step, read through it in order to understand the process before you begin creating your border.
This is a great tutorial for any time you need to bind a quilt with inside or outside points or curves of any kind. Be sure to note that she recommends stitching on the binding before you cut the curves. That will save a lot of angst by not having to deal with stretchy curved edges while attaching the binding.
Once you understand how to bind the quilt, determine how to mark the curves. Heather’s second tutorial gives a lot of helpful tips for making curves that are evenly spaced on all edges of the quilt.
While you can use plates, saucers, and other items from your kitchen for marking curves, Heather uses the Easy Scallop Tool by Darlene Zimmerman (currently unavailable – this ruler is popular and comes with instructions).
With these two tutorials in hand, you’ll soon be a pro at making those charming scalloped borders!
All quilts pictured here were made by Heather at Anka’s Treasures.


