How to Square Up a Quilt as Simply as Possible

Great Tips for a Perfect Finish!
Once you have your quilt top layered and quilted you’re almost done. However, two critical steps remain before you can celebrate. Squaring up and binding.
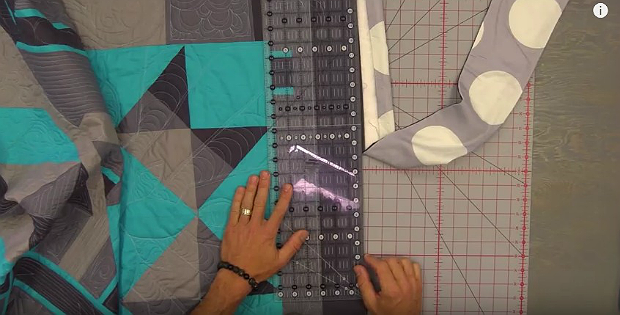
Squaring up involves cutting off excess backing and batting around the outside edges while making the quilt edges as straight and square as possible.
It sounds simple but even the most meticulous piecing often leaves you with uneven outside edges and borders that aren’t square. The following video by Rob from Man Sewing shows you how to deal with that, whether you’re squaring up a small or large quilt.
We especially appreciate the tips for making sure a large quilt isn’t pulling against the ruler, and how to place the ruler so that the quilt’s edges don’t veer.
Click here to watch the video at YouTube if it doesn’t play on your device.
Once you have your quilt squared up you’re ready for binding. Laura from Sew Very Easy has a wonderful set of videos that makes the process as simple as possible. You’ll find them here.


This was wonderful…I put together my first quilt and was not happy the way it turned out. Wished I had seen this video before but will definitely use tips from today on my next quilt. Thanks..
A very well done tutorial with great information. Thank you!!
Love Rob’s method of teaching. He and Jenny Doan have been a tremendous help to me.
Great info on squaring IF your quilt has blocks that allow you to use a seam as a guide.
Great instructions on how to square up a quilt. Easy to understand for us 1st time quilters!
Thank you!