Two Easy Methods for Making Prairie Points

Continuous Prairie Points are Ingenious!
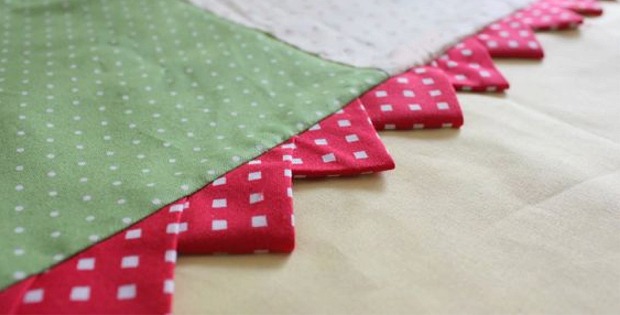
Prairie points add a lovely frame to the edge of a quilt, and often are used right at the edge instead of a binding. They can also be turned in, appearing on top of the quilt border just inside of the binding. Or place them on an inner border or as part of the piecing. Just choose the seam you want to sew them into.
Folded squares of fabric make up the prairie points, and there are a number of ways to construct them.
Prairie Points One at a Time
In the following video, Jodie Davis shows us how to make one prairie point at a time and space them around the edge of a quilt. Notice how the corners match up.
Click here to watch the video at YouTube if it doesn’t play on your device.
The next video, by The Quilting Stash, also shows how to construct prairie points individually. She includes several helpful tips for spacing and other aspects that will make ensure a neat finish.
Click here to watch the video at YouTube if it doesn’t play on your device.
Continuous Prairie Points
A faster way is to construct prairie points is to make them in a strip. In this video Carolyn Wainscott demonstrates how to do that using the continuous prairie point method.
Click here to watch the video at YouTube if it doesn’t play on your device.
Here, Maxie shows a slightly different way of making continuous prairie points. Notice how the points are folded a bit differently, with one row laying on top of the second row, rather than the points being nestled inside one another.
Click here to watch the video at YouTube if it doesn’t play on your device.
Prairie points add a nice finishing touch, however you make them and wherever you choose to use them. Try these techniques and decide which method you prefer.
Photo Credit: Red and white prairie point image courtesy of Amy Smart.


