Fabric Snowflakes Are Simply Magical

Choose Frosty Colors or Your Holiday Favorites!
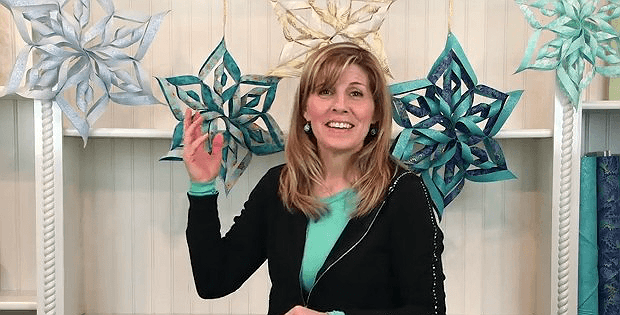
Beautiful fabric snowflakes hung throughout the house will provide a magical touch to your holiday decor. They’re so easy to make, too, and don’t involve any sewing.
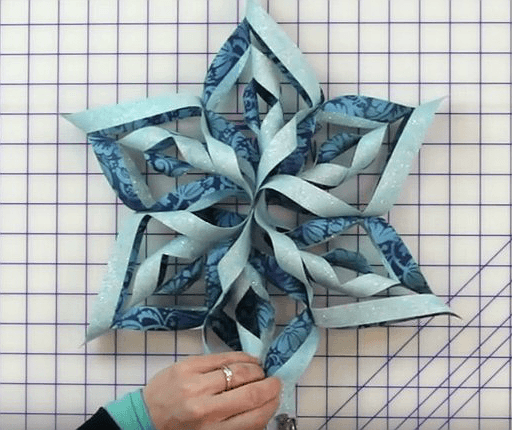
For each of the large snowflakes shown here choose two coordinating fabrics and cut them into 7″ squares. Blues and grays give them a frosty look. They’re gorgeous in gold, too, or in any color that fits your decor.
Bond the squares together, cut them just right and fold them into shape. Of course, you can make them smaller if you want by starting with smaller squares and narrowing the space between cuts.
Heat’n Bond Ultra Hold (get it here) gives the snowflakes structure and a glue gun holds the parts in place. So easy!
The video below show you how to make them step by step.
Click here to watch the video at YouTube if it doesn’t play on your device.
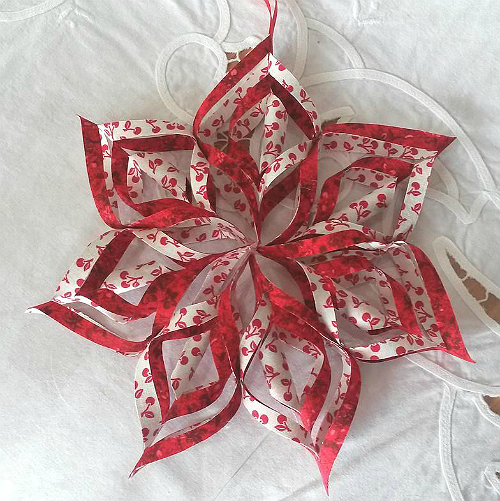
The snowflakes are beautiful in other colors, as well, and often look like stars. Patriotic colors will be wonderful for the 4th of July.
From Miller’s Dry Goods.


These snowflakes are very beautiful. Thanks for the awesome tutorial.
Beautiful! I really want to try this
Thank you! This is wonderful and looks fun! Great gift idea.
These are very pretty and easy to do!
Thank you for the step by step instructions.
Thanks for sharing your good work…I will try to make it…
These are awesome! I have to try them.
the snowflake is awesome and so appreciate your tutorial on how to make them…. will share on FB as I know others will totally enjoy them as well…. have a wonderful Christmas….
Can I apply the Heat N Bond to only one of the fabrics? Do I need to apply it to each side?
Rose, another visitor, commented that she’s having good luck with applying it to just one fabric. Give it a try and let us know how it works!
I am going into production on these! I found that it was only necessary to apply the Heat n Bond Ultra to ONE side of the contrasting pairs of squares – its kind of pricey to do both sides, and it is way too much glue!
I’ve made dozens of these using paper. Never thinking
about using material. Thanks for the great idea.
HAPPY HOLIDAYS !!!
Hello. I have a question. How do you keep them from sagging? I made one with heat n bond lite and it looked saggy so I went and bought wonder under heavy and it sags worse than the first one!! I don’t understand. When I go to hang it by a point or even between the points the other points droop. The only difference is I only put the adhesive on one fabric and glued the two fabrics together. You’d think the two sides of glue would make it heavier but maybe that’s what made it sturdier. Please advise!
The tutorial specifies Heat’n Bond Ultra Hold. That gives it the stiffness it needs to retain its shape. There may be other products that work but it sounds like you’ve found two that don’t!
Wonderful tutorial.
I place my squares in between a folded sheet of parchment paper to iron. Keeps iron and ironing board clean and when the paper cools you can scrape off the glue. A sheet lasts a long time.
I made one and love it!! Just wondering if you have tried them using a smaller square?
We have not but they should turn out great. Let us know if you try it!
i like this snowflake and would like to make it
Thank you for the tutorial! Happy Holidays!
Has anyone created a cut file for this? I was thinking my scan and cut would make quick work of these especially with the double layer of heat and bond