Great Tips for a Quick and Fool-Proof Binding

This Easy Method Eliminates the Tricky Parts!
Do you tend to get hung up on the binding for a quilt? Besides being somewhat anti-climactic – you can see how the finished quilt will look once the piecing is done – it can be a challenge to get a smooth finish while attaching a binding.
There are several places where things can go wonky. One step that seems to cause problems for a lot of quilters is stitching the ends of the binding together once most of it is attached to the quilt, and having that last bit of binding lay smoothly. Another step is achieving smooth mitered corners.
Fortunately, Laura from Sew Very Easy has worked out a very simple way to create and attach bindings.
The first video demonstrates how to cut strips and piece them together to create the binding. Many quilters already have that part down. However, Laura provides some very helpful tips to ease the process and make it go as quickly as possible. The video is well worth a look.
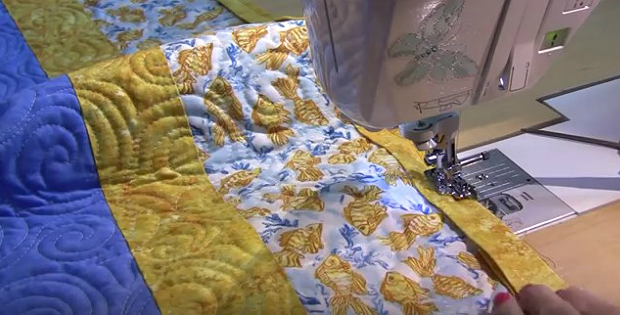
The second video shows how to attach the binding to the quilt. Laura shows you an easy way to stop exactly a quarter of an inch away from the corners so they will miter nicely. And, she uses a very easy method for combining the two ends of the binding for a smooth finish.
Once you’ve worked through the steps and have the binding attached to the quilt, fold the binding over to the other side and stitch it down by hand. Laura covers this in the third video.
We picked up many great tips from Laura, and we expect that you will too. In fact, this may very well be the fool-proof binding method you’ve been looking for.
Click here to watch the video at YouTube if it doesn’t play on your device.
Click here to watch the video at YouTube if it doesn’t play on your device.
Click here to watch the video at YouTube if it doesn’t play on your device.


These are the best videos I have seen thank you