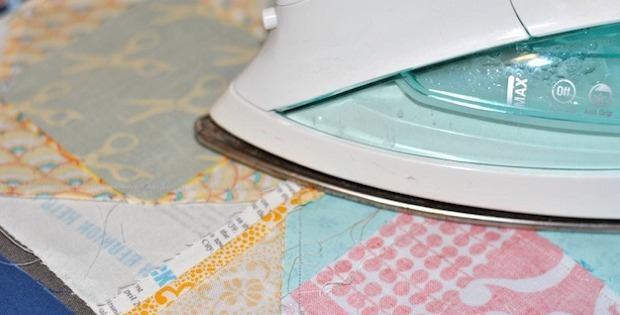
Ironing Tips for the Flattest Quilt Tops

Proper Pressing is Just as Important as Accurate Cutting and Piecing!
You’ve spent a lot of time and care cutting your quilt pieces to size and stitching them together with a consistent 1/4″ seam. For the flattest top, it’s also important to press the seams properly at every step, otherwise your careful cutting and piecing will be for naught.
Without ironing properly, your blocks won’t lay flat and the finished quilt top will never have a smooth, polished look.
- It’s important to press with as much care as you cut and stitch.
- Avoid steam, as it can stretch quilt blocks out of shape.
- Lower the iron down and “press” and then lift it back up, rather than pushing it across the block as you would when ironing an article of clothing.
- Be sure to iron at every sewing step, so that all pieces with seams that are being sewn together have been pressed first.
- Press seams to one side, rather than open as you would on a garment, usually pressing seams to the darkest side.
- Press seams in pieces that will be sown together in opposite directions so that the seams will lock together and produce less bulk when stitched.
This article originally from Craftsy gives an excellent overview of pressing quilt seams.
Reducing bulk at intersections will make so many things easier and results more accurate. By pressing the seams away from each other at the intersections, layers of fabric will be reduced, resulting in a flatter, more accurate piece of patchwork.
If you see seams curving, stop and repress the seams with less pressure (this happens more easily if using steam – editor). Also, laying the patchwork on top of a striped fabric will let you know if things are not staying straight. Lining up strip sets with printed stripes will let you know if things are going off to one side or the other.
There are additional important tips in the following video.


