Trim Curves with Precision for Professional Results

Get the Cute Easter Mug Rug Pattern Too!
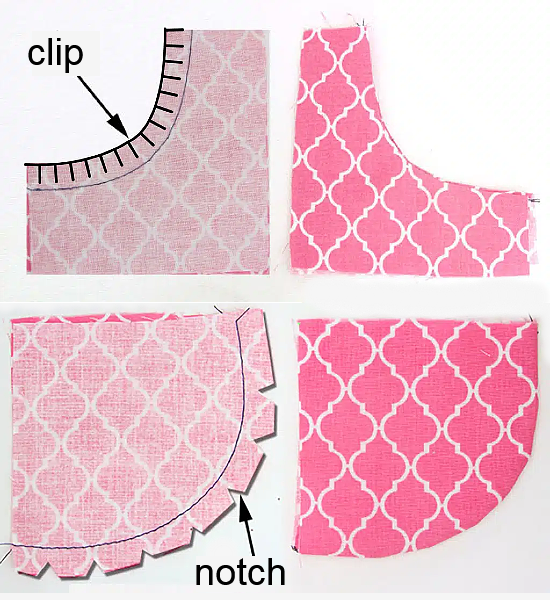
Whether you’re making these cute mug rugs or another project with curves, you’ll need to either clip or notch the curves so they lay flat. The goal is to remove bulk or allow “give” in the seam allowances (scroll to the end of the article for the mug rug pattern).
You may recall the saying from home ec: “notch mountains and clip valleys.” Convex (mountains) and concave curves (valleys) need to be handled differently.
Luisa from
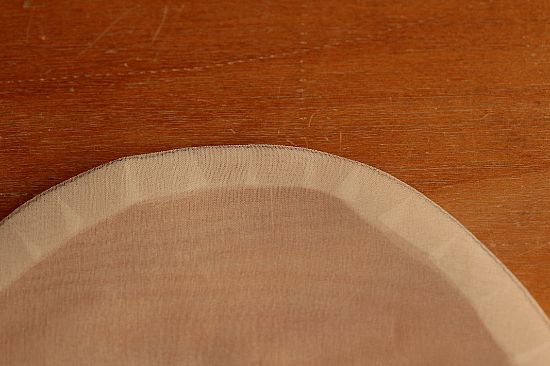
Kennis Wong from Itch to Stitch has an excellent article with a series of photos of curves in transparent fabric. You can see exactly what happens when you turn curves with and without snipping. Take a look at her article here.
Unsnipped curves.
However, even when you clip and notch carefully, curved edges can still look a little choppy once turned and pressed. Lisa Cox from A Spoonful of Sugar has a simple solution for smooth, professional results. Watch how she trims curves in the following video. It’s quick, easy, and works beautifully on both types of curves.
Note for Non-Instagram Users: Click the link above to the video. If you get an Instagram screen encouraging you to sign up, click “Open Instagram.” If the next screen shows a variety of photos, click on “Done” in the upper left corner. This should deliver you to Lisa’s tutorial.
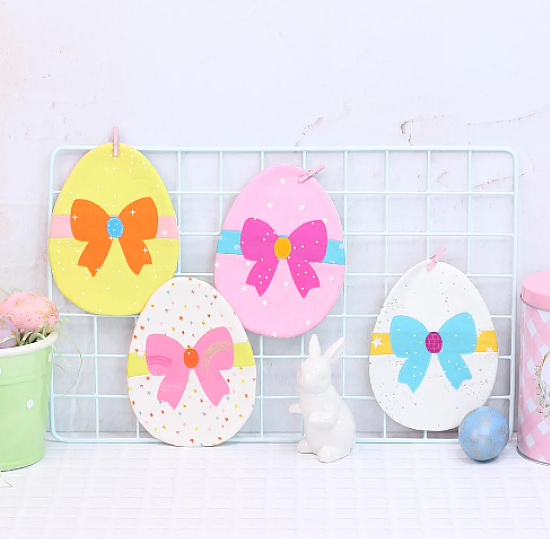
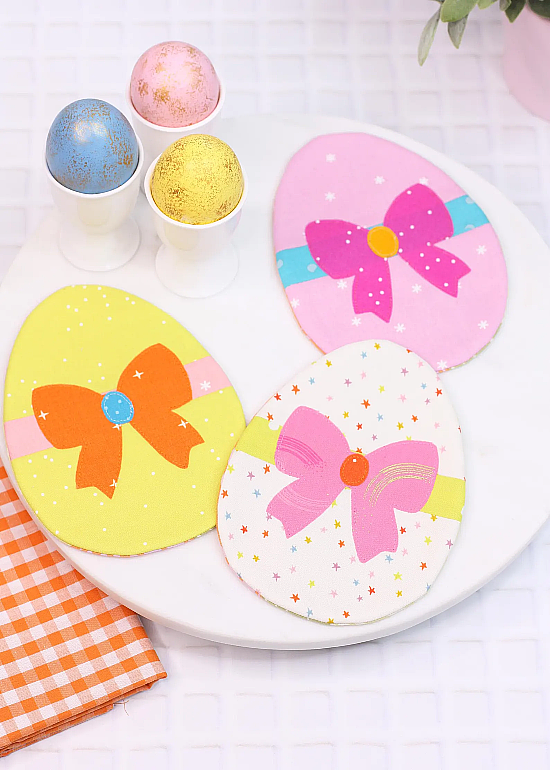
The sweet Easter mug rugs designed by Lisa can also be used as coasters (notice the smooth curved edges!). They’ll be lovely additions to your Easter table and spring decor. Once completed, they are 4 ½” wide x 6″ long.


