5 Excellent Tips for Pressing Bulky Seams Flat

Use One or More Depending on the Seam!
Do you ever struggle with bulky seams that seem impossible to press flat? Julie Cefalu has written an excellent article with five tips for achieving flat seams.
Depending on the block and the seam, you may need to use one or more of these tips to get the seam to lie the way you want. The more complex the block, the more likely you’ll need to use a varied approach.
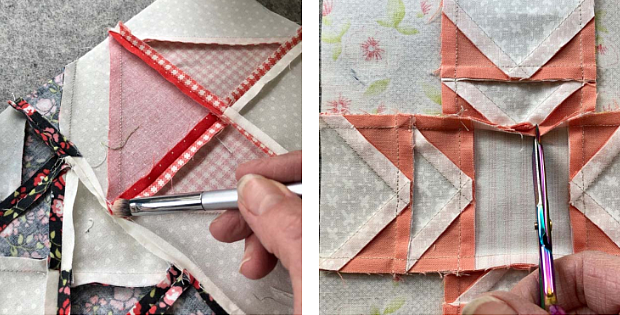
Bulky seams result when four or more layers come together at a seam intersection. In the image above there are seven layers in one intersection! And, of course, it won’t want to press flat.
First, the direction you press the seam can reduce bulk. In any given block you may want to press some seams open and some to the side, as seams pressed open are less bulky at intersections.
Julie goes on to explain the benefits of wool pressing mats, clappers, and weighting down a block with books as it cools after pressing. All three can produce crisp, flat seams.
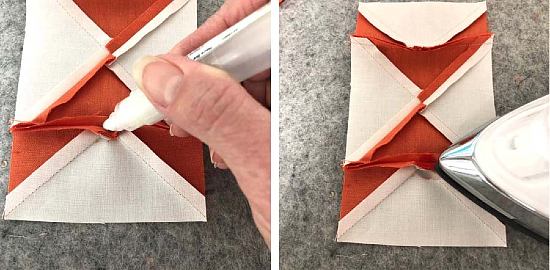
However, her favorite approach for bulky seams is to apply starch to seam intersections and press them flat and dry. The starch relaxes the fibers so the fabric will fold over nicely and stay in place. You can use a brush, a Qtip, or Julie’s favorite, an Easy Press Pen to apply the starch. Watercolor brush pens also work well.
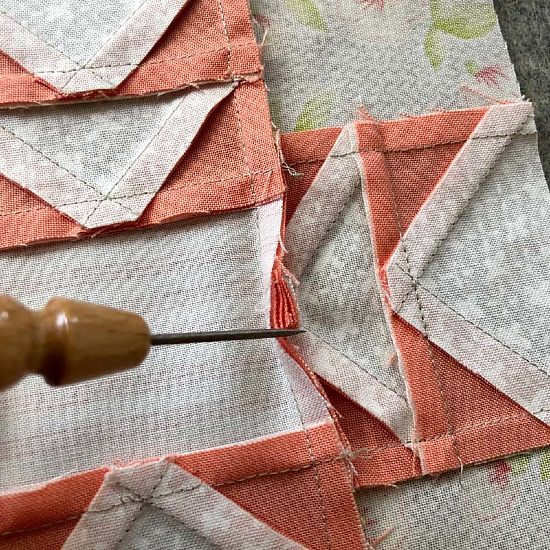
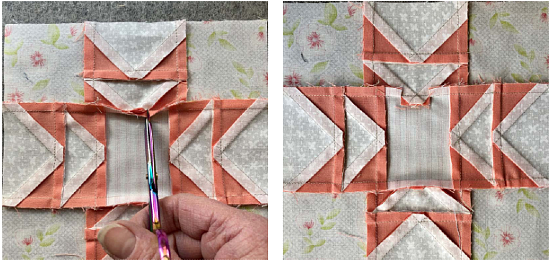
In some instances, you may need to do some judicious clipping of the seam allowances. This works well when you want the bulky part of a seam to fold in a different direction than the rest of the seam. Just be careful when clipping so you don’t jeopardize the strength of the seam.
You’ll find excellent instructions for all of Julie’s tips in the following article. Scroll through the comments at the bottom for more ideas.


