Fabric Woven Star Ornaments Are So Easy to Make
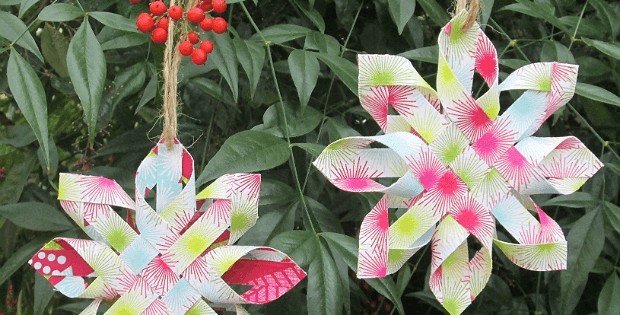
You Can Easily Make Several of Them in an Afternoon!
Woven star ornaments made from paper have a long history. They’ve been popular in Scandinavia, Germany and other countries for decades, maybe even centuries. It’s easy to see why. They’re simply beautiful.
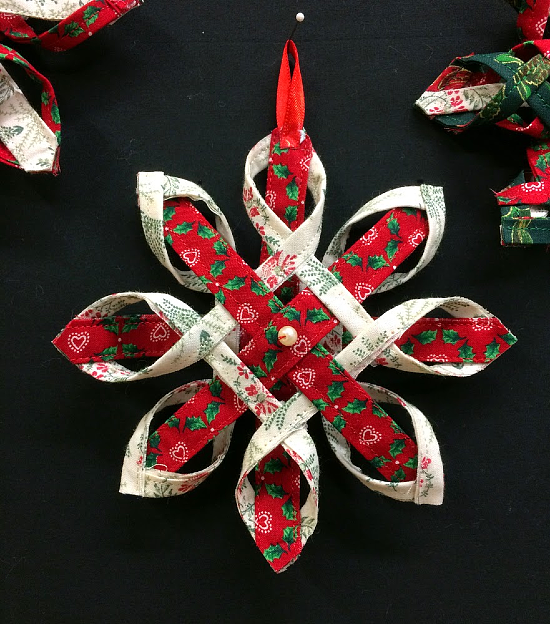
These ornaments can just as easily be made from fabric, and it’s super easy to do. Simply fuse two squares of fabric wrong sides together with Heat ‘n Bond or other fusible interfacing (choose a stiffer product for stars with more body). The two squares can be from the same fabric or two different ones.
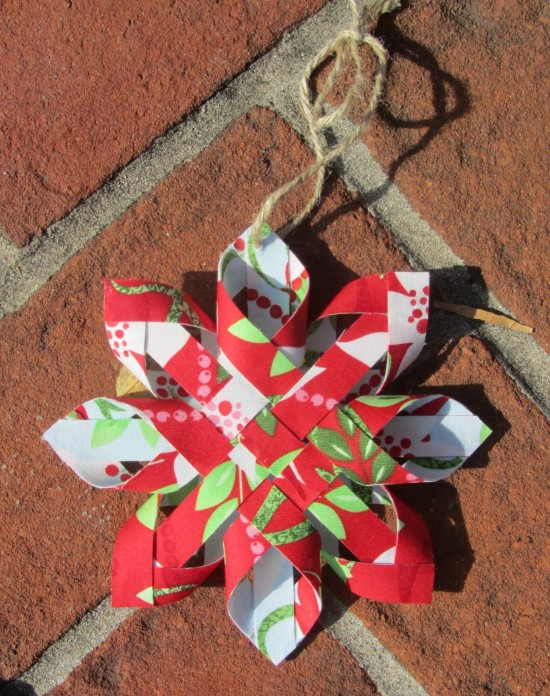 Star from Trio Stitch Studio.
Cut the fused squares into strips and fold them into stars. Secure the points in place with a glue gun or fabric glue. Easy!
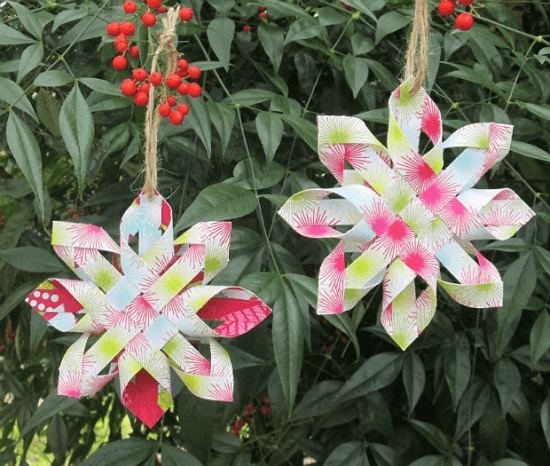 Stars from Trio Stitch Studio.
To start, choose two squares of fabric and one square of Heat n’ Bond that are all 6 1/2″ square. Layer the wrong sides of the fabric with the Heat n’ Bond in the center and fuse to make two-sided fabric. Trim the square to 6″ x 6″. Slice the square into twelve 1/2″ x 6″ strips.
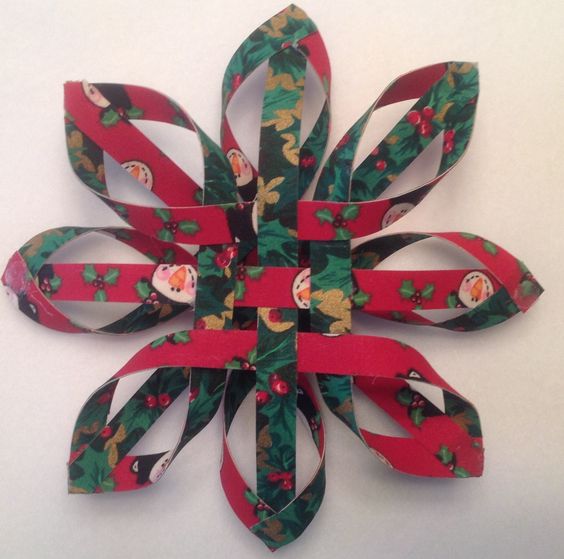 Ornament found on Pinterest, pinned by Cindy Tiption. We’re unsure if this is paper or fabric.
The following video will show you how to fold the strips into a star. The instructions are for folding paper, but your prepared fabric strips will work just as well.
Click here to watch the video at YouTube if it doesn’t play on your device.
Ornaments by Shannon who used a different method. Learn more.




Love every thing you post I want to make many of them.Thank you for the opportunity to be able to
Love the video! Gonna go hunt my paper and glue gun to make some. Thank you!
These are great. You are fun. Thank you for sharing.
The free tutorial for Woven Star Ornaments from Deb at Trio Stitch Studio is not available. I received the following message when I clicked on the link: “Sorry, the page you were looking for in this blog does not exist.”
It looks like a lot of fun to make! Can you suggest any other tutorials?
Thank you for letting us know that the tutorial has disappeared. We’ll go looking for a replacement and post a comment here when we find one.
The article has been rewritten to include instructions for preparing fabric to make the star. Have fun!
Thank you for making this happen
Made these with 6 of my grandchildren today, ages 4 to 13. The little ones needed a little more help, but they loved them. I did a fabric one first. Beautiful! Thanks for sharing this.
Adorable can’t wait to make them
With fabric!
Just great, we are making fabric ones tomorrow at our group……thank you. Noelene
So cool… thumbs up here
I thought this was a well done video and you made each step easy to understand. Love these!
I liked your video and found it easy to follow. Thank you.