Create Ribbon Candy Ornaments From Fabric
| December 7, 2020 | Ornaments


They’re Quick, Easy and So Charming!
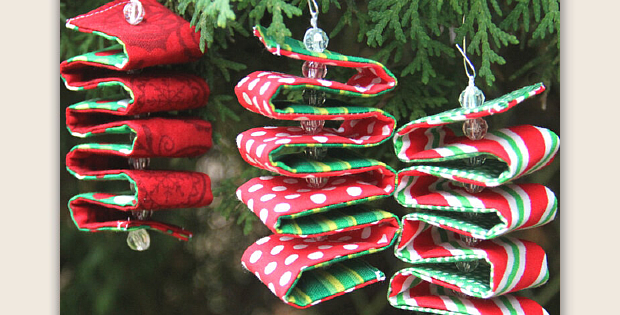
Turn strips of fabric into pretty ribbon candy ornaments for your tree. They’re fun to make and finish quickly. Plus, the final step can be done by hand in front of a movie.
They also make fun gifts, so plan to make several while you’re at it. Go through your stash and pull out holiday prints that can be cut into 2″ x 18” strips. You’ll need two contrasting fabrics for each ornament.
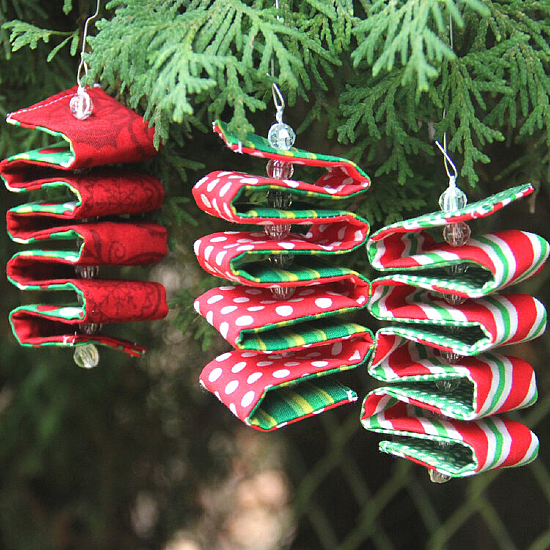
You’ll also need beads to string between the folds to create the ribbon candy look. You’ll find a nice selection here.
The finished size is not provided by the designer, Crafty Staci, although they appear to be about 1 1/2″ w x 3 1/2″ h.
An inexpensive printable tutorial is available to purchase here.
PLEASE NOTE: Quilting Digest does not sell or otherwise provide patterns directly. We showcase patterns and projects from various vendors, bloggers and other sources. Please make a note of where you access a pattern (the link in the yellow box toward the end of each Quilting Digest article). That way you can contact Support for that source if you have downloading problems or other issues. Thank you!


One Comment
Leave a Reply to Dianne Breiner Cancel reply
Copyright © 2026 Quilting Digest.
I read in the comments section where you referred someone to use printfriendly.com and I tried it. It helps me out alot. Love your patterns.