Get Straight Flat Borders Every Time


No More Wavy Edges and Distorted Corners!
Once a top is pieced it’s so tempting to cut corners on the border. Any distortions can be trimmed or quilted out, right?
Well, not always. For a polished finish it makes sense to take a few extra minutes to measure and cut correctly sized borders.
Carole from My Carolina Home has written an informative article that illustrates the difference between what she calls “the ‘slap and sew’ method instead of the proper ‘measure and cut’ method” of adding borders.
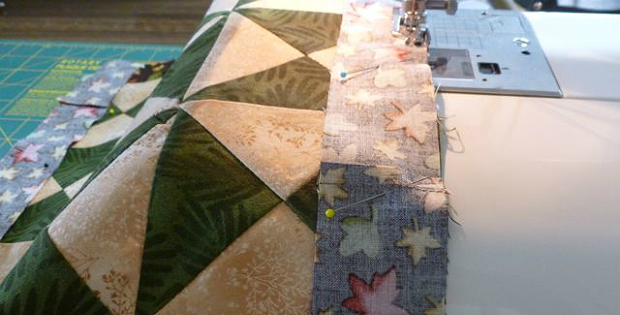
As she points out, many new and experienced quilters will simply cut border strips of the correct width and start sewing them on. That should work, right?
Not exactly. This “slap and sew” method can be surprisingly off once the borders are sewn on, creating wavy edges and distorted corners. The larger the quilt the more distortion can result.
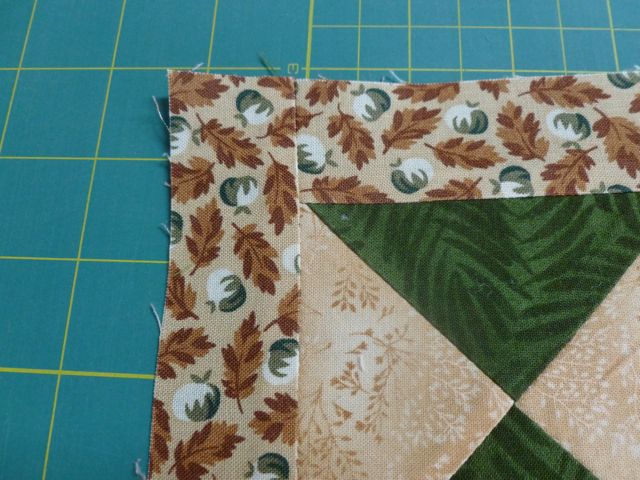
Distorted corner of a “Slap and Sew” Border.
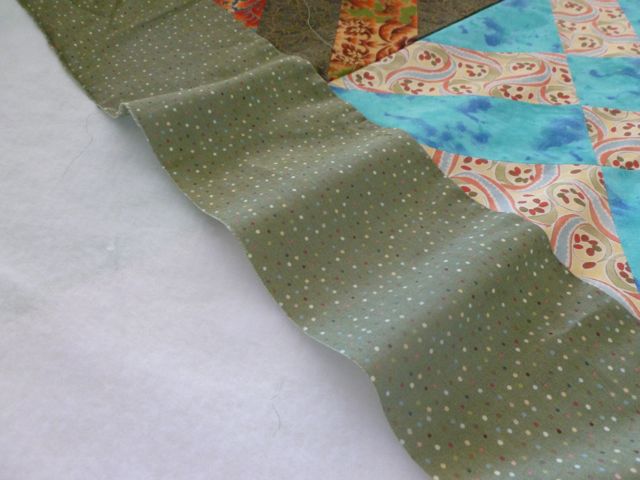
Edge of a “Slap and Sew” Border.
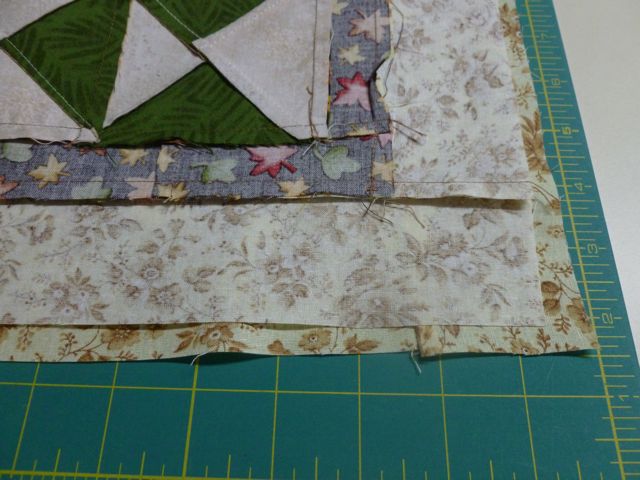
A quilt with a “measure and cut” border laying on top of the same quilt with a “slap and sew” border. See the difference?
We’ll let Caroline explain why the distortion happens. It’s well worth the read.
So, how do you get flat, even borders? Caroline explains how in the last few paragraphs of the article above. The secret is in measuring correctly.
It’s well worth the time to do this extra step, as correctly sized borders will produce a much nicer finished quilt. It will lay flat, hang straight on a wall, be easier to quilt and you won’t need to fuss to cover up problems. It may also save you money if you’re sending the quilt out to a longarm quilter.
A second article of Caroline’s go into more detail about measuring properly. You may be surprised to learn that it’s your measuring method that is causing problems. The article is well worth reading.
Once you understand the “why” and “how” behind measuring correctly for borders, you’re sure to produce beautiful flat borders on every quilt. It doesn’t take much longer to do, but the results are worth it.


