How – and Why – to Wash a Quilt Before Binding

Get a Perfectly Flat and Square Finished Quilt!
We’ve always finished our quilts completely before washing them for the first time. There’s nothing like the puckering that takes place during that first washing to give a quilt that homey look we love so much. So, for us, washing is the final, much-anticipated step in making a new quilt.
However, Geta Grama washes her quilts before adding the binding. She prefers to do that because the first washing can distort the shape of a quilt, especially one that is heavily quilted. If the binding is already done, then you’re limited in what you can do to fix the distortion.
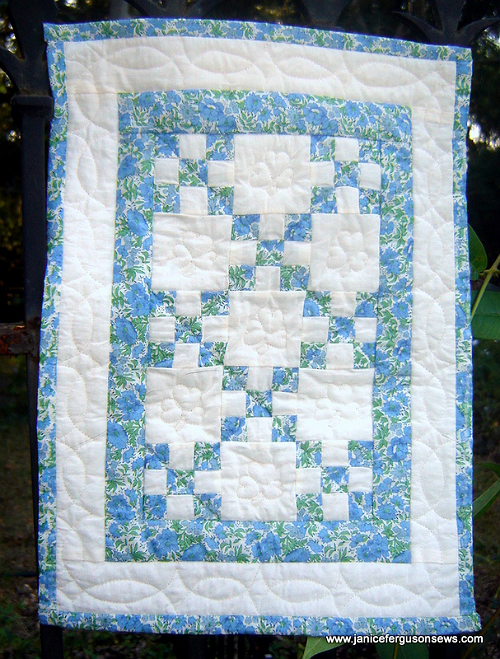
Photo from Janice Ferguson Sews. Her quilt is not actually distorted, but appears that way because of how it’s hung. However, it shows how a quilt might look after being distorted by the first washing.
Geta washes her quilts, then blocks them so they dry in the correct shape (which is especially important for wall quilts so they hang straight). Once a quilt is completely dry, she then squares up the quilt and adds the binding.
One precaution Geta passes on is:
“Find a way to stabilize the outside edges of the quilt top.
If the quilting does not extend right out to the outer edges, baste along those edges. Or you could use a long zig zag stitch to “finish” the outer raw edges. This keeps the fabric from fraying too. Not anchoring the edges of the top to batting and backing and then washing is a mistake.”
Learn more about Geta’s method in the following article. She discusses how to wash an unbound quilt, block it, and finish it up. The comments section offers additional insights.
While we haven’t tried it, this method seems like an excellent way to produce perfectly squared and flat quilts that stay that way after every washing. What do you think?
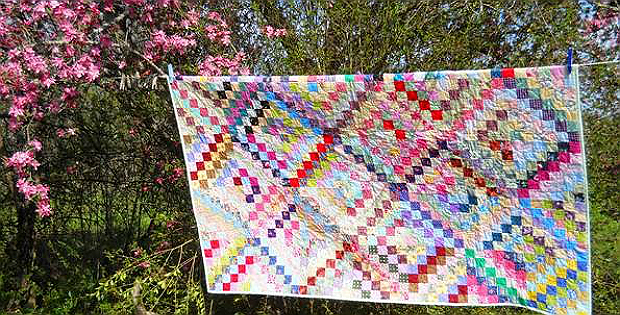
Image Source: the photo at the top of the page is from Sew and Sow Farm.


