Make a Portable Pressing Mat for Home and Away

Adapt the Instructions for the Size You Want!
Do you need to set up your ironing board every time you want to press something? An ironing mat would be much more convenient.
Plus, if it has ties, the mat can be rolled up and secured for easy storage and transport. In fact, you may want a mat anyway for taking to class and retreats.
We’ve found three tutorials for you to choose from. They’re all easy to make and go together quickly.
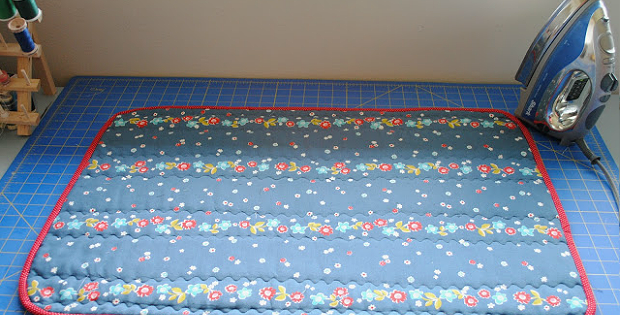
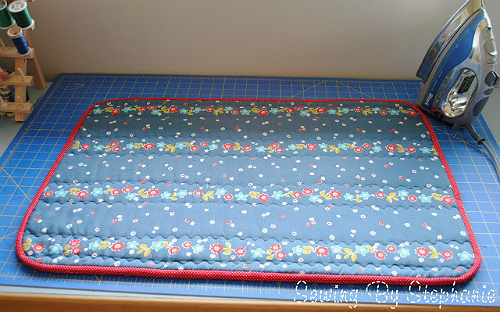
The first, from Sewing by Stephanie, uses Insul-Bright batting for heat-proofing (we’d use two layers for best protection). Stephanie’s version does not have ties but they would be easy to add.
This mat is 30″ x 20″ once completed but can be made any size that works best for you.
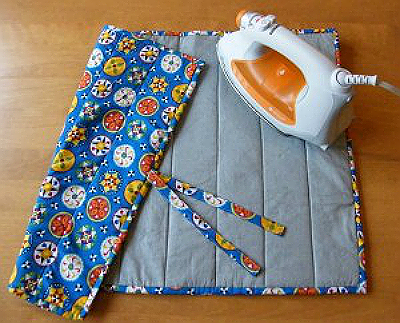
The second mat, from Quilter’s Connection, is also 30″ x 20″. It uses silver ironing board fabric plus insulated batting (like Insul-Bright) and does have ties.
A third version finishes at 30″ x 30″, has ties and also uses silver ironing board fabric. A layer of cotton batting or Insul-Bright is also included. Bias tape is used around the outside edges instead of binding. The pattern is from Best Fabric Store.
With all three tutorials, we’d carefully test the mat’s heat-proofing qualities to see how warm the surface underneath becomes. You may find that you won’t want to use your mat on some surfaces, like a cutting mat or a fine wooden table.
Or, better yet, stack the layers and test before sewing the mat together. You may want to add another layer of batting or Insul-Bright for additional heat proofing.


