3 Tricks for Perfect Log Cabin Blocks


No More Struggling to Fit Blocks Together!
If we had to choose the all-time most popular quilt block, we’d pick the Log Cabin block. It’s been made and loved for generations by quilters of all ages.
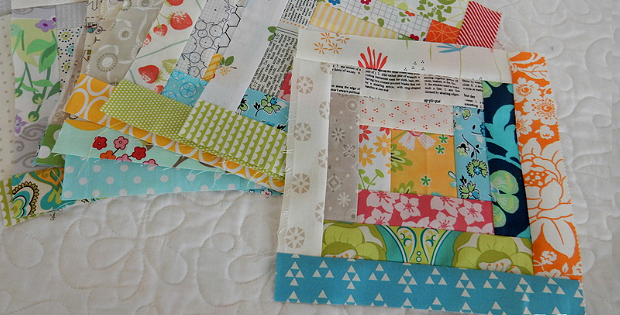
It’s a simple block to make, it’s great for scraps and the blocks can be configured in many ways to create striking quilts. Plus, the basic block can be adapted to create even more designs.
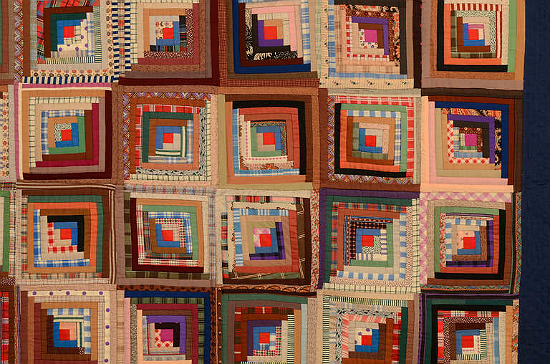
Closeup of an antique Log Cabin Quilt found on 1stDibs.
While the Log Cabin block is simple, it can also turn out a bit wonky. That makes it a challenge to combine blocks into a neat, flat quilt top.
These three tricks will ensure that the blocks turn out nicely every time. Not only will they be square and precisely sized, blocks will fit together beautifully.
The first, as with most blocks, is to make sure you’re sewing with a scant quarter-inch seam. Julie Baird, writing for Generations, explains The Ultimate Sewing Test to test and refine your seam widths.
It’s a good idea to do this whenever you plan to sew several Log Cabin blocks. You’ll find the instructions in the following article.
The second trick is to cut out the pieces so that the length of the strips (“logs”) run along the lengthwise grain of the fabric, parallel to the selvedges. The lengthwise grain has virtually no stretch to it, ensuring that the logs will all fit together without being stretched out of shape.
Learn more about this tip in Julie’s article above.
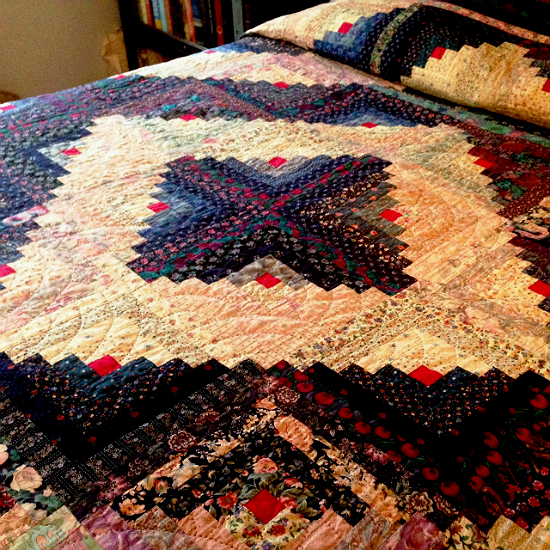
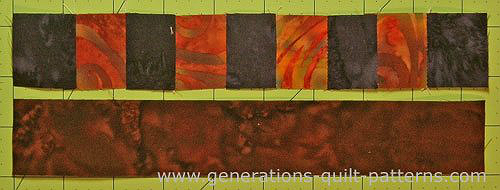
Image from “Tips for Making Scrappy Log Cabin Blocks” (currently not available) by Cindy Grisdela.
Finally (and this is one that many quilters skip) cut the logs to length before adding them to the block. Attaching pieces of exactly the right length means that you’ll eliminate chances for variation between blocks to occur (and other types of wonkiness).
Marti Mitchell explains the benefits of chain-piecing with logs that are cut to length in the following article (vs using the add-and-trim method).
Leslie from The Seasoned Homemaker has written an excellent tutorial for constructing Log Cabin blocks. There are instructions for both a 12″ and 14″ block.
While she provides instruction for cutting logs to length, she does suggest cutting them a little long and then trimming them to size after they’re sewn on. She also explains the add-and-trim method referenced by Marti in her article.
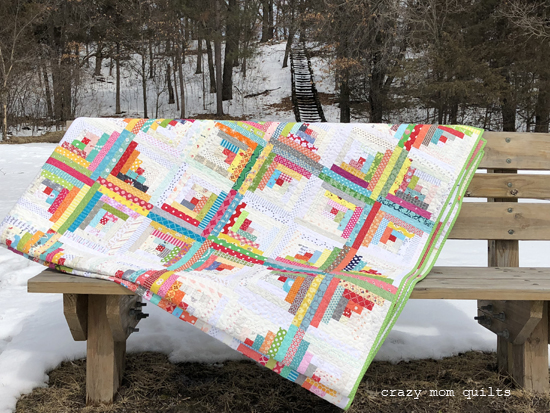
Image from Crazy Mom Quilts.
If you want to try either of the last two methods, we encourage you to also construct a block with logs cut to the exact size and compare the results.
Sherri from A Quilting Life has also written an excellent tutorial, this one for an 8″ block. She focuses specifically on cutting the logs to length before sewing. Be sure to look at her method even if you’ll be making blocks of a different size.
Regardless of what size blocks your pattern calls for, and how many logs they contain, these tips will help you perfect the construction process.


How do you sew the squares together with pinking shear edges?
Measure for your scant 1/4″ seam starting from the tips of the points on pinked edges (but measure the piece first, tip of pinked edge to tip of the opposite pinked edge) to make sure that it’s the correct size using the tips as your sewing guideline. Sometimes pre-cuts are a little off.
I was taught to always square up the block after each round is sewn on. I have always followed this and my blocks are always square so they sew together beautifully.