Repurpose Old Furniture Into a Cutting Table

Share on FacebookPin on PinterestTweet about this on TwitterEmail this to someonePrint this page

Adjust the Process to Fit Your Space and Furniture!

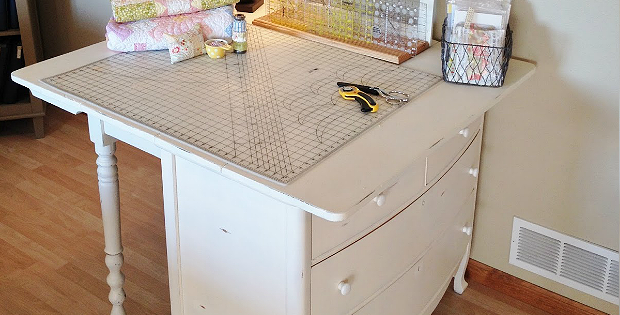
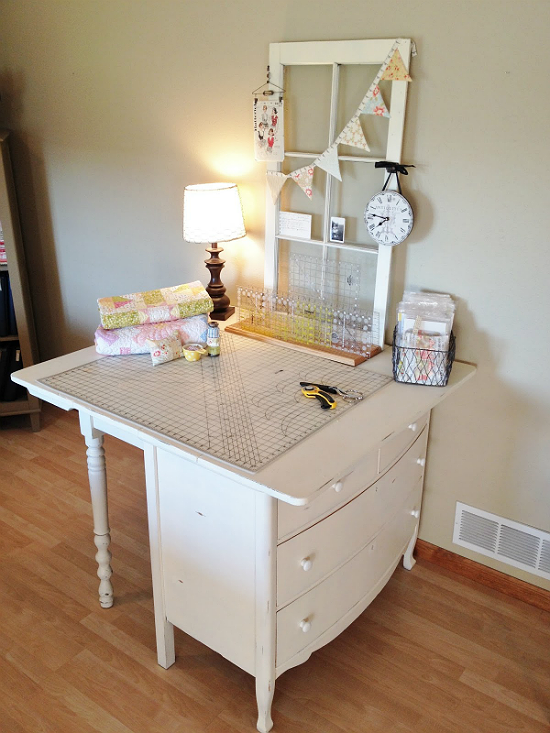
Two old pieces of furniture combine to create a clever cutting table. A dresser allows for handy storage while the table creates a nicely sized cutting surface. Together they’re a match made in heaven.

The table was made taller for a comfortable cutting height. Now it’s possible to sit at it on a bar stool, as well.

DIY Cutting Table

Taunja Kelvington from Carried Away Quilting is the creative quilter behind this great idea. Her husband made it all work.

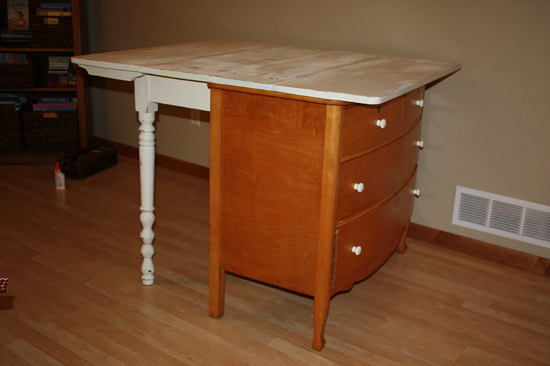
While the project looks complicated, it isn’t hard to pull off. If you or someone you know has the right tools and know-how it’s a very doable project.

DIY Cutting Table

Of course, you’ll need to adjust the alterations to work with the table and dresser you have. Look at thrift stores, tag sales and such to find inexpensive pieces to work with.

While exact step-by-step instructions are not provided, there’s enough info to understand the process and create something similar.

Click here for the “DIY Cutting Table” article.


PLEASE NOTE: Quilting Digest has featured many patterns from vendors participating in the Craftsy Marketplace, most of which have been deleted by Craftsy. It's going to take awhile for us to hunt down new sources for those patterns. In the meantime there are many links to patterns on our site that no longer work. We apologize if this article contains one or more of those links and appreciate your patience while we straighten things out. Thank you!


PLEASE NOTE: Quilting Digest does not sell or otherwise provide patterns directly. We showcase patterns and projects from various vendors, bloggers and other sources. Please make a note of where you access a pattern (the link in the yellow box toward the end of each Quilting Digest article). That way you can contact Support for that source if you have downloading problems or other issues. Thank you!


Add a Comment

Your email address will not be published. Required fields are marked *