Santa Ornament Made from a Log Cabin Block


One Block Makes Two Santas in This Quick Project!
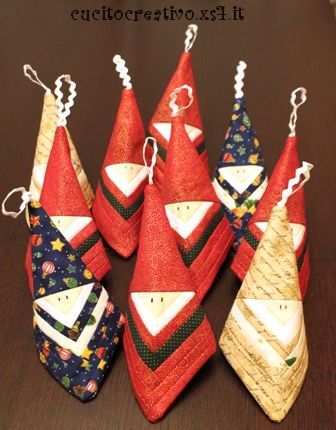
This darling ornament will be a wonderful addition to your holiday decor. It’s a quick project you can make up from scraps and enjoy year after year. It is also a fun gift. Make several while you’re at it and keep them on hand for last-minute gifts.
One Log Cabin block makes two ornaments. It’s layered up with batting and backing, then stitched together and turned. Since there is no binding, this is an extra quick project to complete. A bit of rick rack or ribbon is attached for hanging.
When we first discovered this project, the only instructions were available in Italian. Scroll down for videos in English, English tutorials, and a pattern to purchase. Also, further down the page, you’ll find our interpretation of the Italian Tutorial Construction Notes. Notice that sizes vary between the various instructions.
The tutorial by Silvia Trevisan is in Italian (you can translate the page using Google Translate or refer to this translation.)
An English tutorial for instruction for two sizes (about 6″ tall and 10.6″) is available from Quilting Wonders.
A second written tutorial in English is available from Sew Very Crafty. It does not specify the finished size.
The following video from Friday Night Sewing demonstrates the construction process in English, although the designer uses her Santas to top wine bottles. She also shows a second folding option so they can be used as napkin rings.
If the video does not play on your device, click here to view it at YouTube.
A second video tutorial from Mom and Pop Quilt Shop shows how to construct a larger version. Click here and scroll down to view the transcription for fabric cutting sizes.
If the video does not play on your device, click here to view it at YouTube.
Cath Hayes from Purrple Hayes Crafts has created a pattern for Santa ornaments in three sizes (5″ x 5″, 6″ x 6″, and 8″ x 8″). Her pattern is designed to be made almost entirely in the hoop on an embroidery machine.
The Italian Tutorial Construction Notes in English
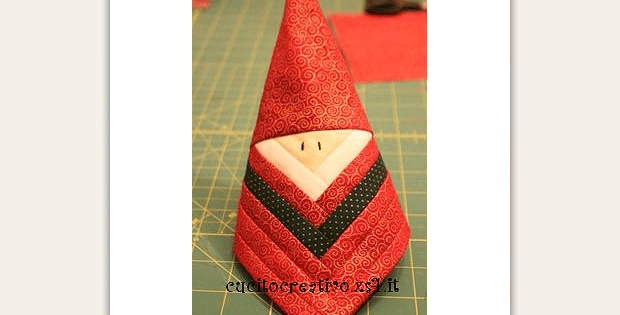
Select a flesh-colored solid for the face, white for the beard, a red print for the suit and hat, and a green, black, or other print for an accent. You can also choose fabrics in a variety of colors and make each set of two Santas different (one Log Cabin block makes two Santas).
Val Spiers used a larger print fabric for the suit in her version made with the Italian instructions (shown below).
Fabric measurements are given in centimeters, which don’t translate conveniently to inches for this project. The starting piece for building the Log Cabin block is the flesh color for the face. Val used a 2 1/2″ square for that and 1″ strips for each of the logs. The same measurements are used in the Friday Night Sewing video. All seams are 1/4″.
Follow the photos for the construction of the Log Cabin block. Once it’s complete, cut a square for the hat that is the same size as the Log Cabin block. Continue following the photos, cutting the block in half and stitching on the hat fabric. Once the hat has been affixed, cut a square of fabric the same size as the finished pieced square for the backing, as well as a piece of batting.
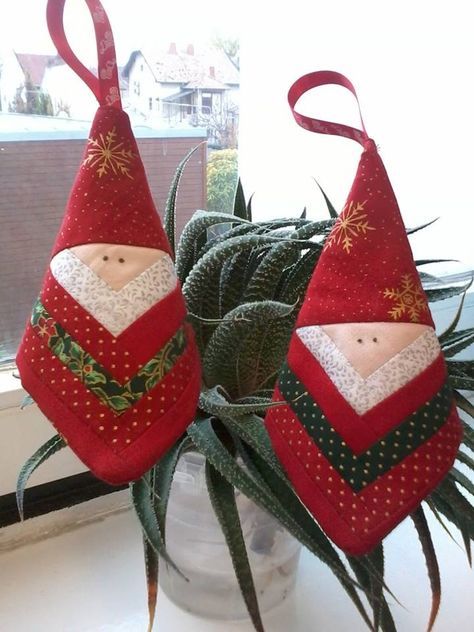
Photo found on Pinterest.
Eyes can be added with a bit of hand embroidery, beads, buttons, or a close zig-zag or tacking stitch.
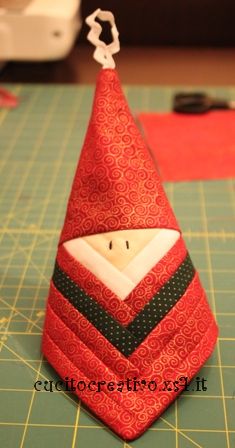
Layer up the mini quilt, with the front and back facing each other and the batting on top of the backing. Insert the hanging ribbon in the top corner before stitching all of the layers together. Be sure to leave an opening on one side of the Santa for turning.
Stitch two sides of the Santa together by hand to make the ornament 3-dimensional.
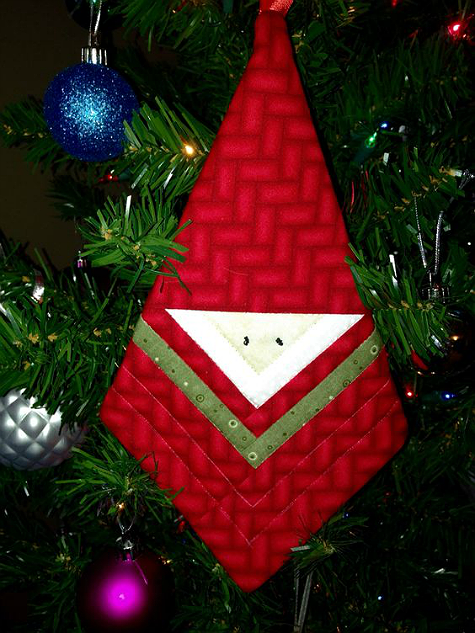
Photo found on Pinterest.
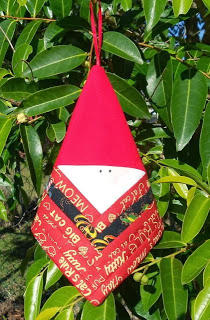
Before folding, the ornament block will be about 7″ square, producing a rather large ornament. Flatten it for hanging or leave it three-dimensional for standing in a holiday display.


I love this patern for a pot holder. It’s perfect. Thank you.
Made 20 Santas for my quilt group last year. They were very impressed.
Thank you for sharing! Instead of Christmas cards, I made these Santa’s in all shapes and sizes. Had so much fun!
If I start in January I should have the 40 I will need for the 2 grands to have an ornament to give each of their classmates next year!
The Christmas Santa also makes a lovely bottle topper
I’m late for this Christmas, but these are perfect for next year. Thank you.