This Fabric Basket Makes a Small Gift Special


Fill it With Treats for an Easy Personalized Gift!
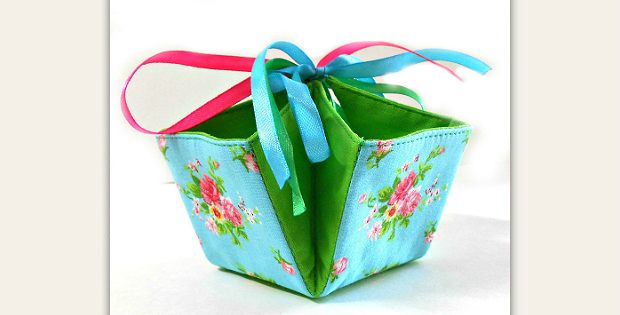
This darling little basket is perfect for giving. Choose fabrics the recipient will enjoy and fill it with small goodies. Wrapped chocolates and other treats will become a lovely personalized gift.
The instructions for this project have been translated into English from another language. Consequently, the text can be a bit confusing.
However, the excellent pictures demonstrate how the basket is made.
NOTE: Scroll down for another tutorial in English.
 Choose two coordinating fabrics for the patchwork front and use one for the lining as well.
Vlieseline is specified, which is an interfacing. We’re guessing that they used a lightweight fusible interfacing, and fused it to the back of each fabric square before the block was stitched together.
Complete the 9-patch block and sew satin ribbons to the corners. Lay the block on top of a square of batting cut to the same size. Position the lining, right side down, on top of the block and stitch around the outside edges. Leave a gap for turning.
Once the mini quilt is turned and the gap is stitched closed, sew around the outside edges. Machine quilt in the ditch and across each corner creating the pattern shown in the following photo.
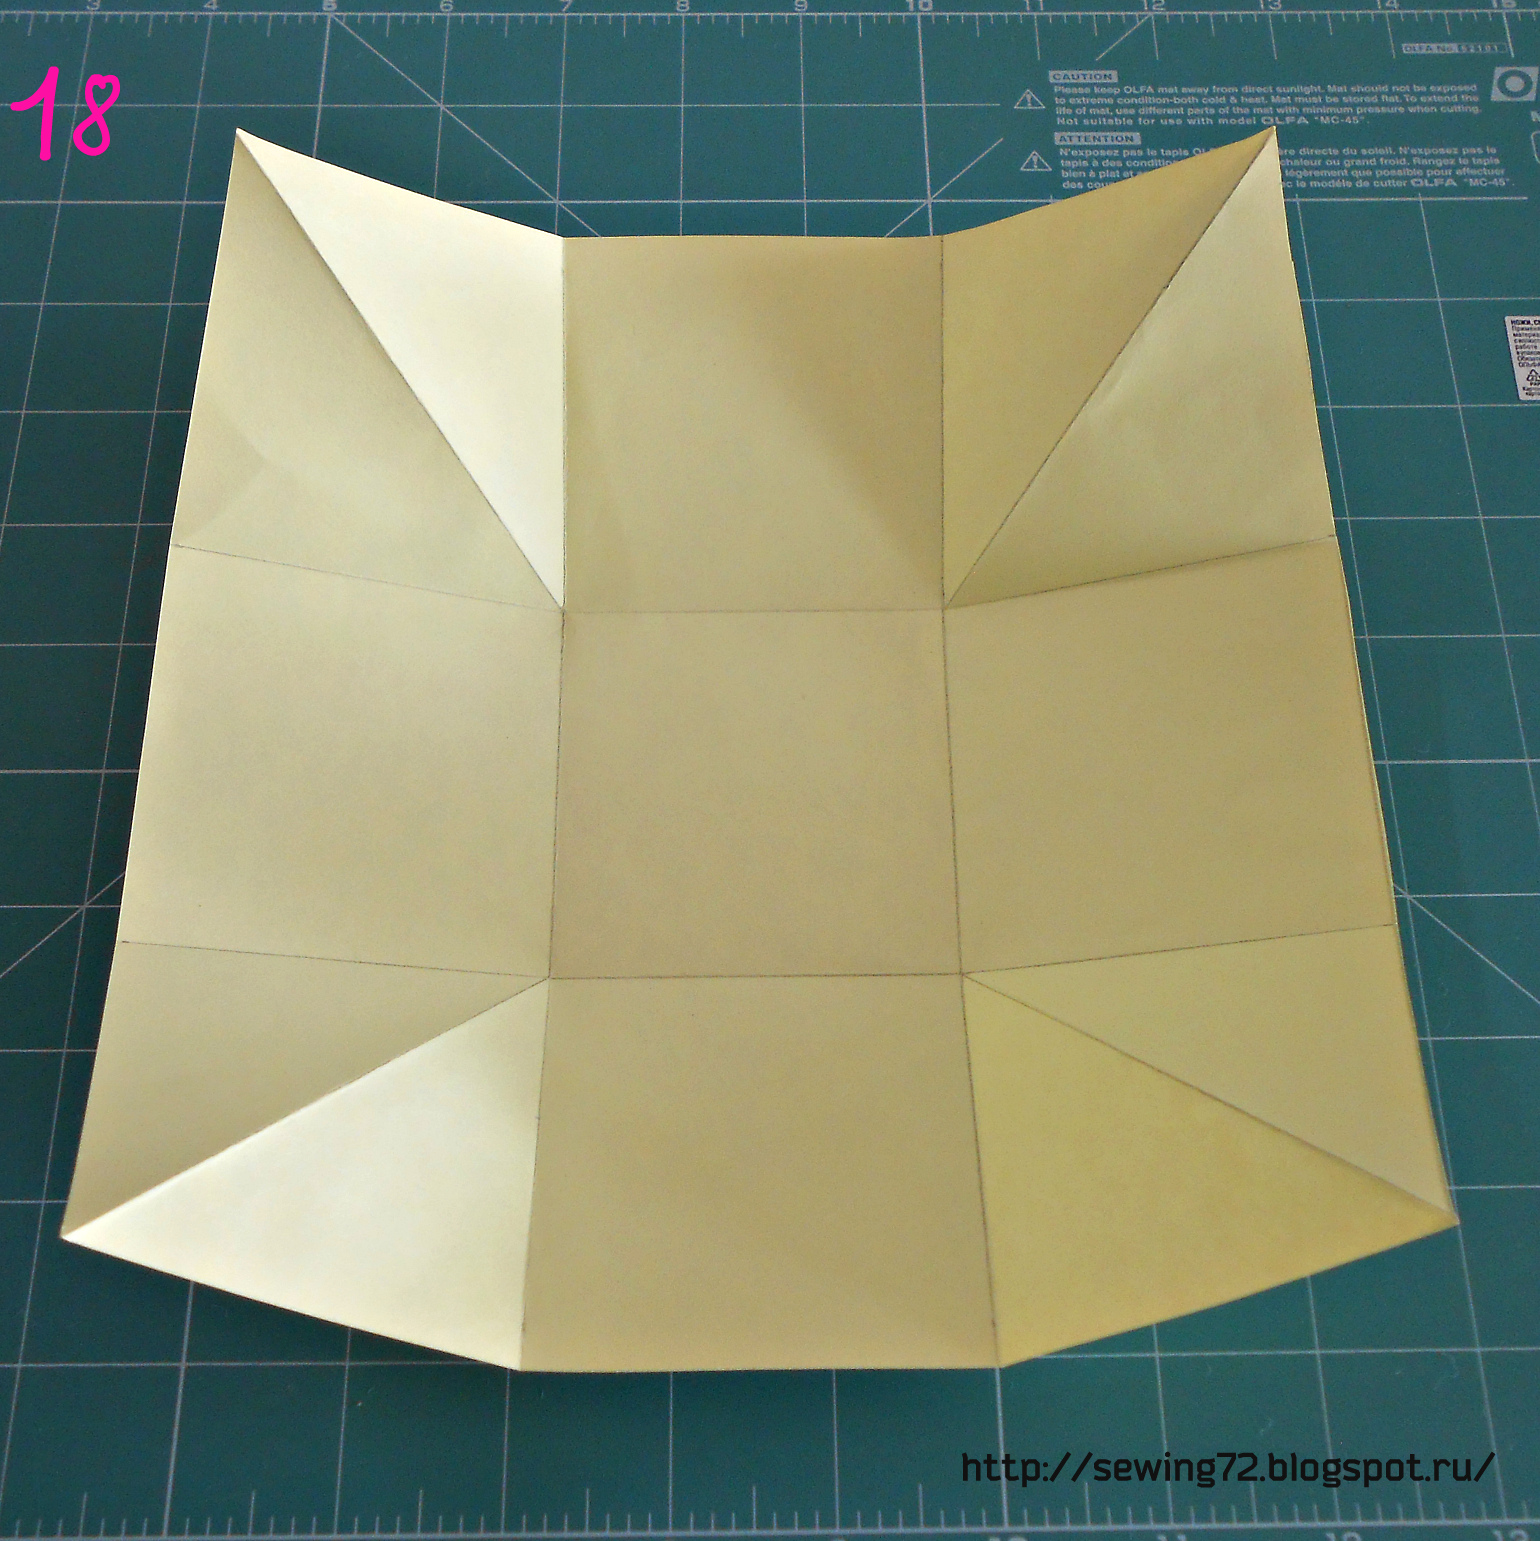
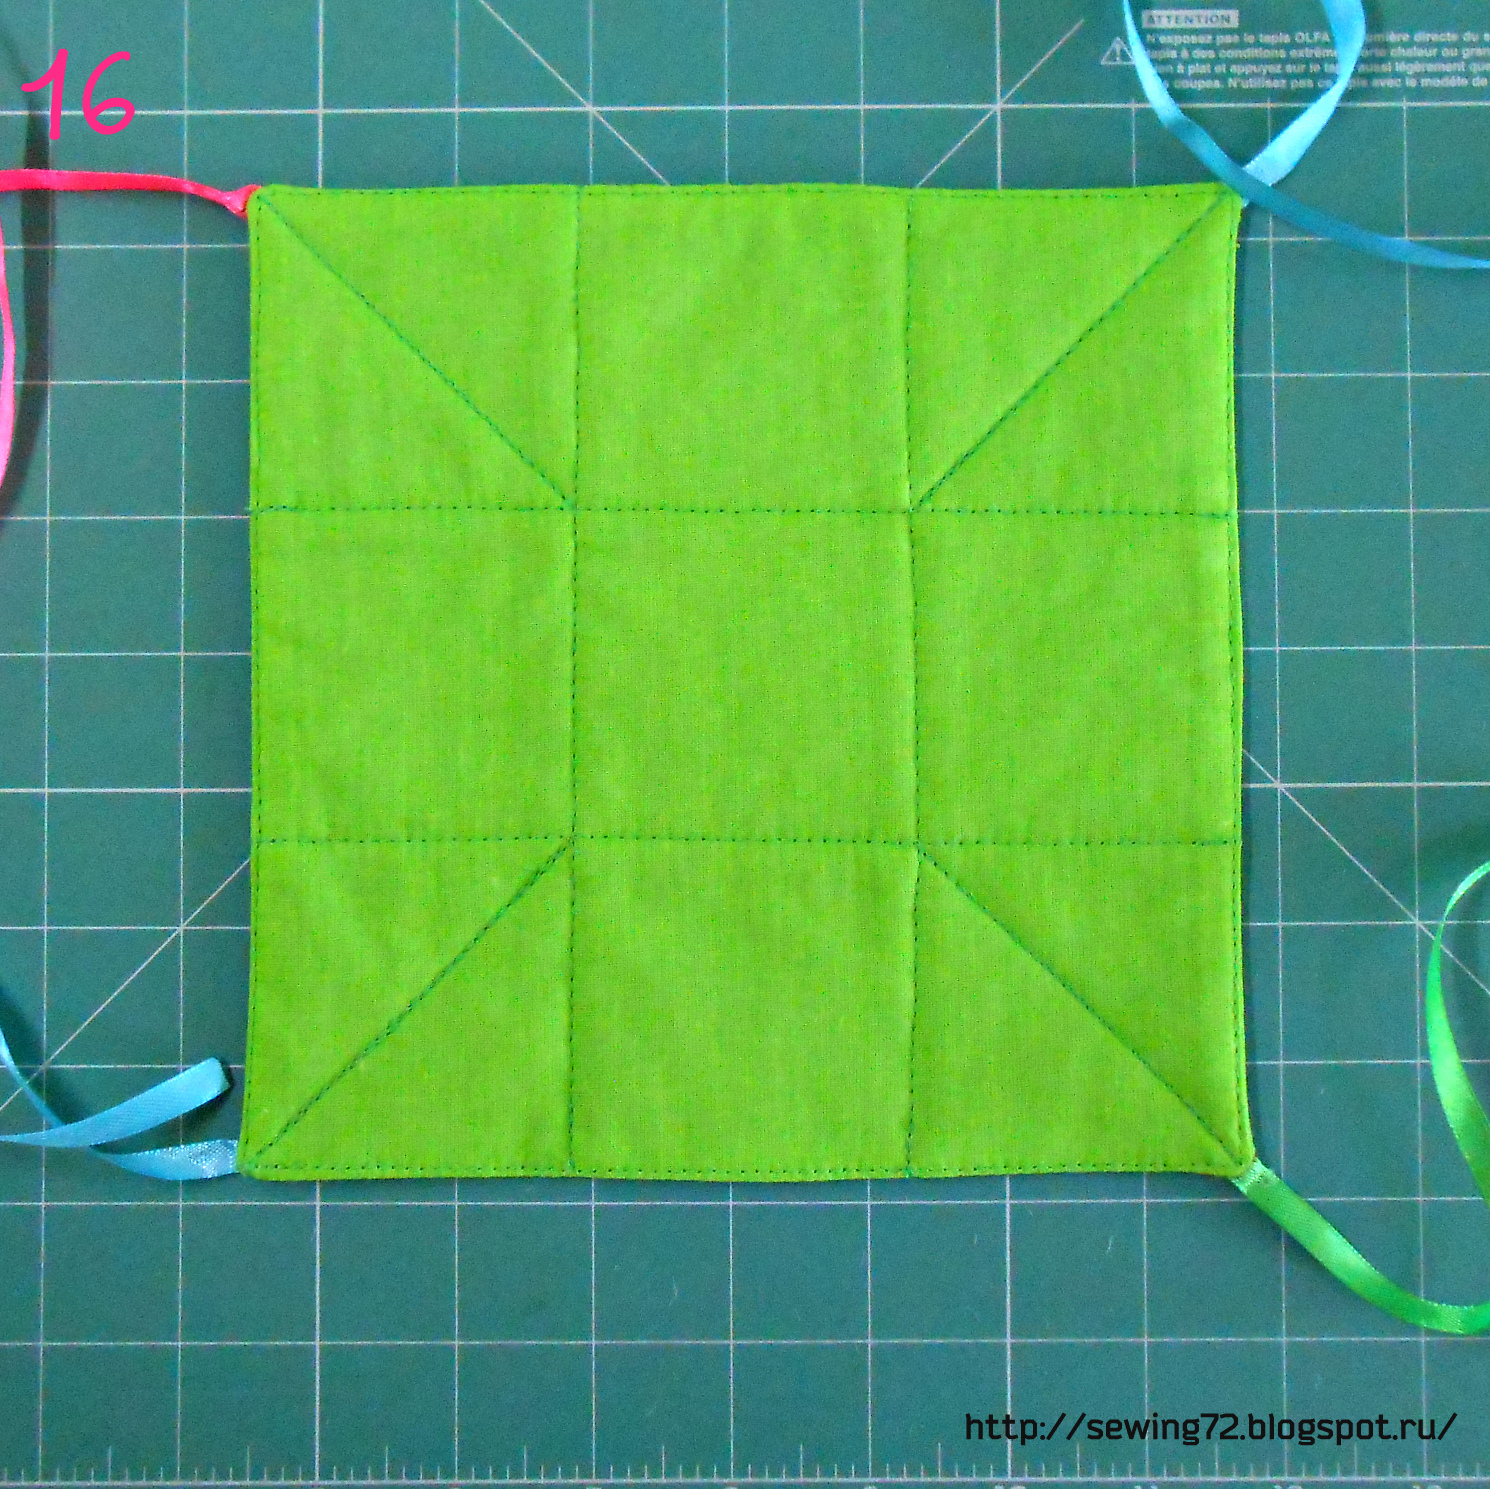 Use your iron to press folds along the quilting lines as shown with a piece of paper in the following photo.
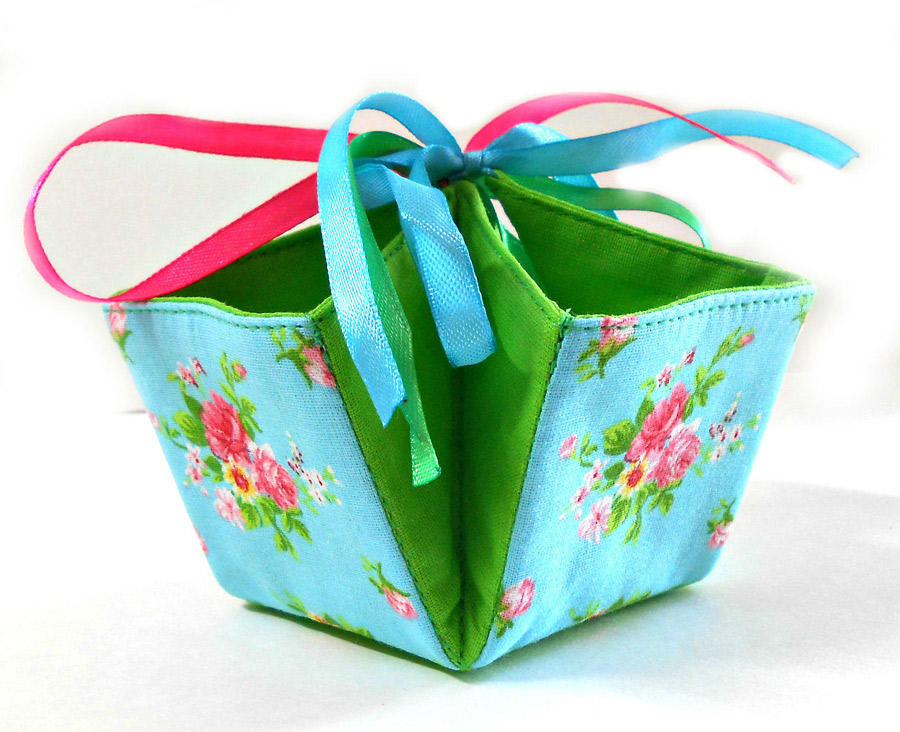
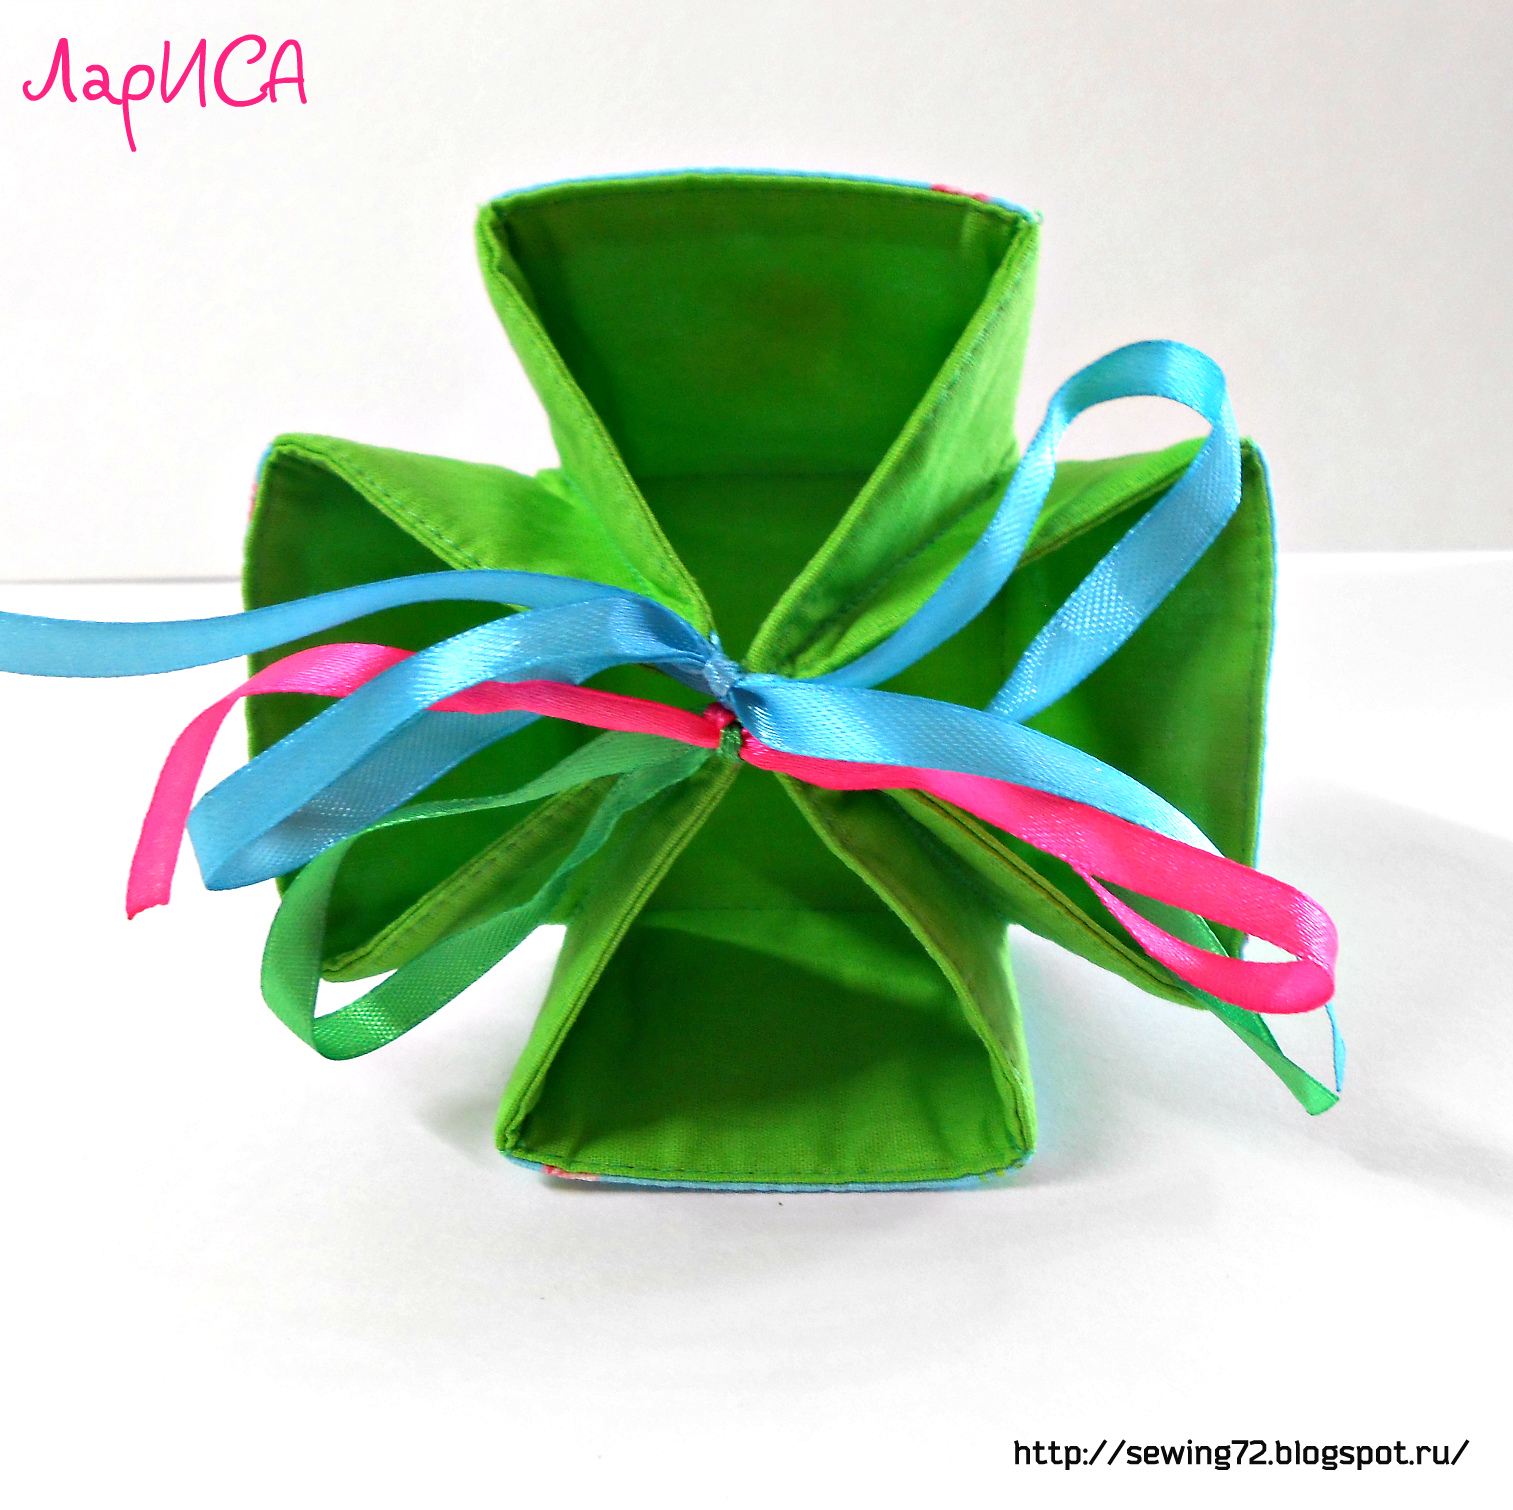
 Bring opposite corners together and tie them to create the basket shape.
Converting centimeters to inches is a bit tricky for quilt projects. However, it appears that 3″ squares are close to what was specified. That would make the background fabric and batting 8″. Quarter inch seams are used throughout.
A larger basket can be made with bigger squares. Adjust the lining and backing to fit. You may want to use a heavier interfacing so a larger basket will hold its shape.
Instructions in English
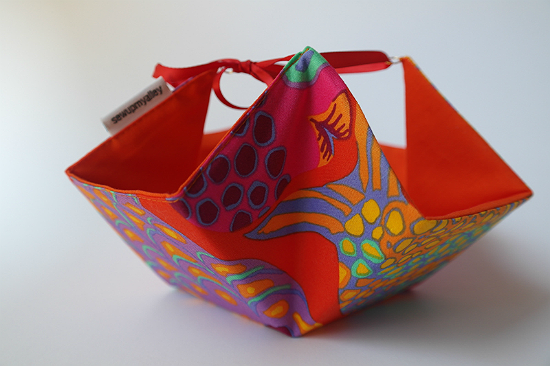
We recently found another tutorial with complete instructions in English. Construction is similar although the ties are attached a bit differently and thin cardboard helps the basket hold its shape. There is no piecing involved, either. Choose whichever method works best for you, or a combination of the two.
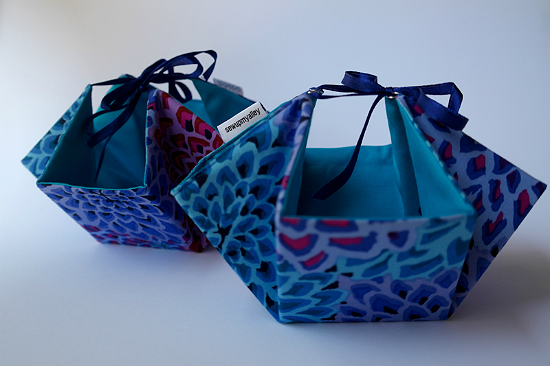
This is a very quick project. Choose two pieces of pretty fabric and matching ribbon that complement each other and enjoy how quickly they go together. You can have several baskets ready for giving in an afternoon.
The tutorial, by Melinda Clarke from Sew Up My Alley (for Sew Mama Sew), is fully illustrated and is available as a PDF download.
Instructions are also available for a mini basket, which you’ll find here.


