Play with Stripes for a Stunning Quilt

Enjoy the Process of Designing as You Go!
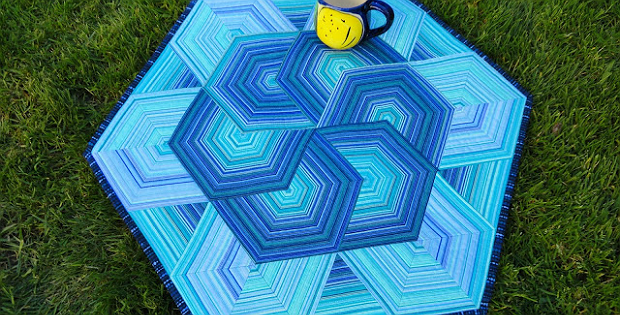
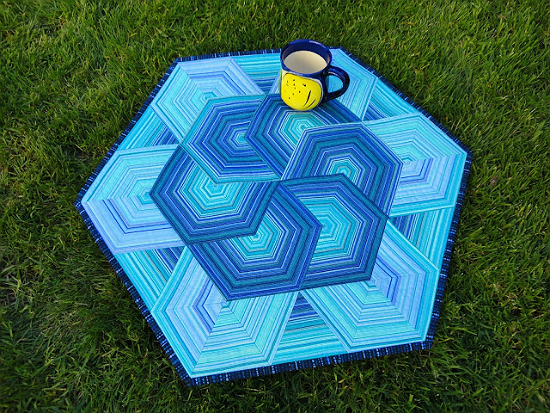
This wonderful quilt caught our eye because of how much fun it will be to make our own. While there are no exact instructions, you really don’t need them.
Find a pretty striped fabric, cut 60 degree triangles (there are good rulers here) and play with placement before you sew them together. For an effect like in this quilt, the thinner the stripes and the more color variation along the length of the fabric the better. Wider stripes will create a different effect.
As for placement, there are so many designs you can create. Move the triangles around until you find the one you like best. See examples and the construction process here.
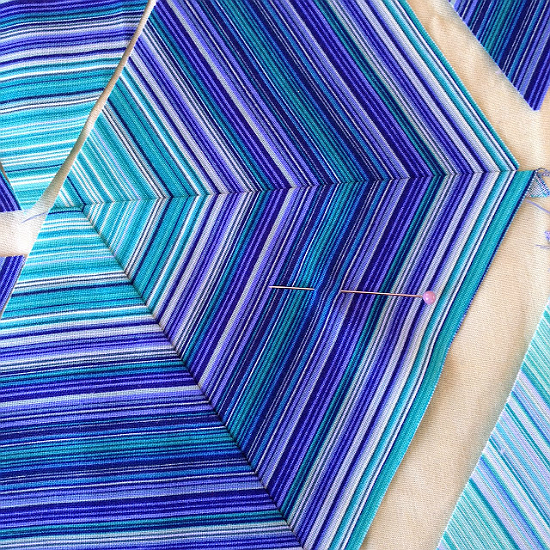
One thing to keep in mind is that you’ll need to match the stripes while sewing the triangles together. Starch the fabric so the edges don’t stretch and consider pinning at a few key matching points along each seam.
Cut the triangles whatever size you need for the finished dimensions you prefer. The little quilt shown here, by Wendy from Wendy’s Quilts and More, is 22″ high. That makes the starting triangles (and we’re guessing here based on the photo) about 5.75″ along the longest sides.
You’ll find basic instructions for larger triangles in this article from Karen Says Sew.


