How to Correctly Remove Thread from Your Machine

Share on FacebookPin on PinterestTweet about this on TwitterEmail this to someonePrint this page

Prevent Problems by Un-threading This Way!

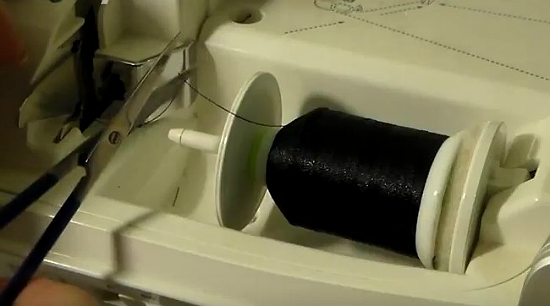
Have you ever been in a hurry to change the thread on your machine and lifted the spool and tugged? We’ll confess we’re guilty of doing that on occasion but there’s a better way that’s kinder to your machine.

Pulling the thread backwards like that can cause tension problems, especially with computerized machines. That’s not to mention all the extra lint that can be released from thread running backwards through machine parts.

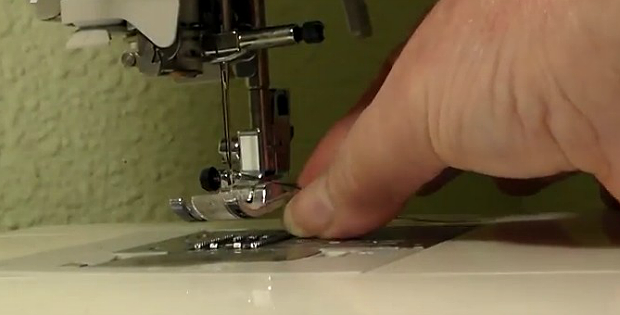
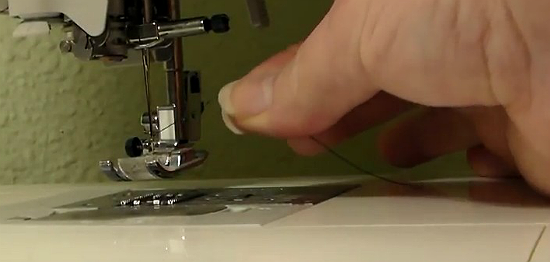
A better way is to snip the thread near the spool and pull the remaining threaded piece through the needle.

The Correct Way to Remove Thread from Your Machine

The Correct Way to Remove Thread from Your Machine

This tip is included in an excellent article about bad sewing habits written by Melissa Prendergast. It’s worth reading through all of her tips.

Click here for the “15 Bad Sewing Habits You Need To Quit Doing” article.

The following video shows the process of properly unthreading a machine (it starts at 1:13).

Click here to watch the video at YouTube if it doesn’t play on your device.


PLEASE NOTE: Quilting Digest has featured many patterns from vendors participating in the Craftsy Marketplace, most of which have been deleted by Craftsy. It's going to take awhile for us to hunt down new sources for those patterns. In the meantime there are many links to patterns on our site that no longer work. We apologize if this article contains one or more of those links and appreciate your patience while we straighten things out. Thank you!


PLEASE NOTE: Quilting Digest does not sell or otherwise provide patterns directly. We showcase patterns and projects from various vendors, bloggers and other sources. Please make a note of where you access a pattern (the link in the yellow box toward the end of each Quilting Digest article). That way you can contact Support for that source if you have downloading problems or other issues. Thank you!


Add a Comment

Your email address will not be published. Required fields are marked *