Make Quilt Care Labels from Your Ink Jet Printer


The Printing Process Works for Photos Too!
My mother used to remind me whenever I’d complete a project that “It’s not finished until it’s signed!” Those words of wisdom apply to every piece of art you create, including quilts.
Labels are the traditional way of signing quilts, and there are several ways to go about it. Often, you’ll see a label on the back with the name of the maker and perhaps a date, a quote, or whatever other information the quilter felt should stay with the quilt over the years.
You don’t often see care labels, however, and that may be the most important information of all (especially if you give quilts away or create charity quilts).
Cindi from Seams to be You and Me spent a lot of time thinking about how to include care instructions on her labels. The method she developed is ingenious.
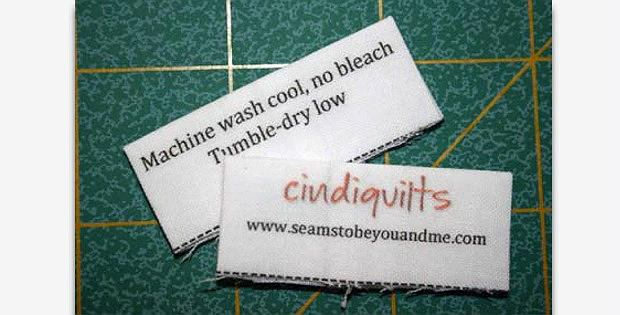
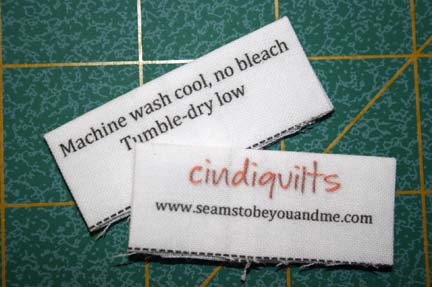
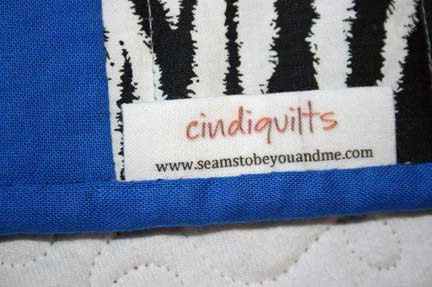
She prints the information onto fabric using her inkjet printer. Then she stitches and folds the fabric into double-sided labels to sew into the binding.
Cindi wanted to include her website so that anyone who sees her quilts can contact her. That may or may not be important to you. Adjust her instructions according to what info you want to stay with your quilts.
The process begins by creating a document in Word or another word-processing program. With careful spacing, you can fit several labels on one sheet of paper. Once you have that set up, print the document on fabric.
Printing on fabric is a fairly simple process (this works for photos too, not just labels). Your inkjet printer will work beautifully (MUST be inkjet, NOT laser!).
While you may not need to take the following step (do several test washes!), to ensure that the labels stay bright and readable for many years you may want to set them with Bubble Jet Set 2000 and Bubble Jet Rinse to prevent them from bleeding. You’ll need both products to complete the process. You can learn more and purchase them here:
Cindi references instructions by Eileen from The Artful Crafter for using the Bubble Jet products. Get those instructions here.
The following video tutorial by Nancy Zieman demonstrates the process, as well. She shows how to print a photo on fabric, but the process will work just as well for quilt labels.
Click here to watch the video at YouTube if it doesn’t play on your device.
(Note: You can applique photos and other printed fabric pieces by using fusible web instead of the Creatopia machine that Nancy demonstrates in the video.)
Once your labels are printed on fabric, follow Cindi’s instructions for making the labels.
Another method of printing on fabric is worth considering, as well. Learn more here.
Printable Fabric Sheets are a quick way to make labels. Be sure to read reviews to determine which fabric will work best for you. You’ll find a good selection here.


Great ideas…may look into incorporating the care labels into my quilts…thanks! 🤗