Piece and Quilt Better with a Retrofitted Laser Guide


Here’s How to Retrofit Any Machine!
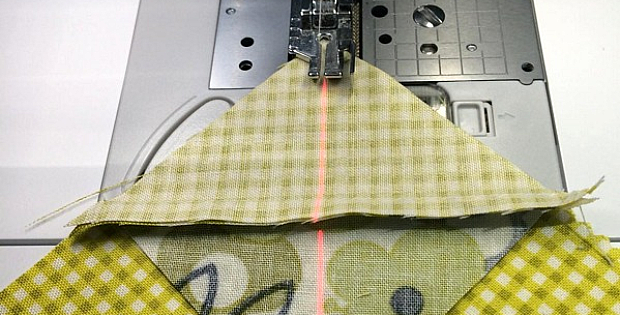
Some of today’s high-tech sewing machines have a feature that’s a real time-saver for quilters – a laser guide. These handy devices create a laser beam that appears just in front of the needle, showing where the stitching line falls.
This time-saving feature will help you sew straighter and require less marking. It’s perfect for half-square triangles, straight-line quilting, and things like zippers that require straight and accurate stitching.
But what if you love and use a machine without this feature? While a laser guide is so helpful that having one ‘almost’ makes it worth buying a new machine, chances are you can retrofit your existing one.
Amber Simmons has done just that and explains how it works. First, you’ll need an inexpensive laser marker, which you can purchase here (we like this one because you can adjust the width of the line).
Then you’ll need to determine how best to attach the marker to your machine. Velcro Command strips (available here) seem like a good solution for plastic-body machines, as the marker can be easily repositioned as needed.
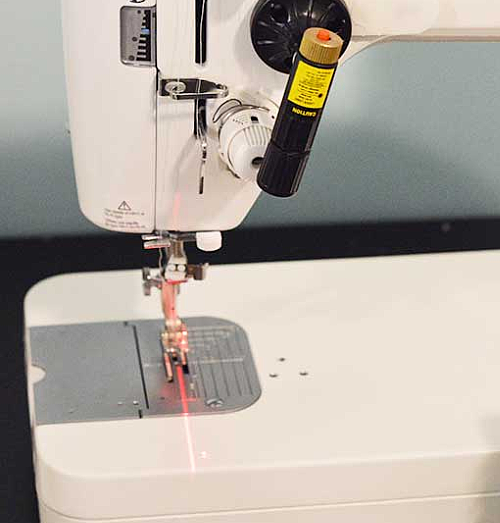
Notice that the marker comes with magnets, which may be perfect for older metal-cased machines. However, you’ll want to remove them if your machine is computerized (Do not use magnets near a computerized sewing machine!).
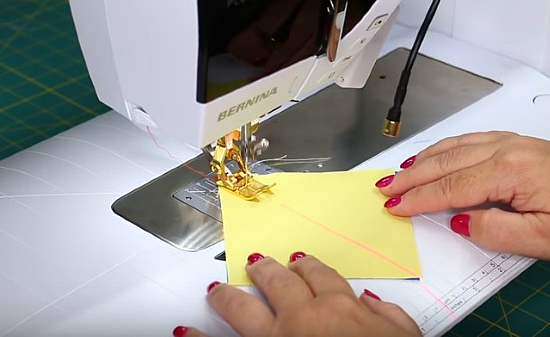
Once you have the tools, you may need to play a bit to find the right position. As you’re doing that, be careful not to look into the laser, and be sure to keep it out of the reach of children. It’s perfectly safe to look at the laser beam as it hits the machine or another surface.
A second option is a laser guide made specifically for sewing machines. It’s simple to position it exactly right, the beam can be repositioned without moving the unit itself, and the beam is narrower for more accuracy.
Choose between a red beam or a green one (which some say is easier on the eyes). You can also choose a laser of either color that attaches to the machine with hook and loop tape OR with a magnet (be careful to select the right version for your machine). You can purchase a ViviLux 3-n-1 Laser System here.
In the following video, Sue O’Very demonstrates the many options provided by this laser. Note that the angle and ambient lighting sometimes wash out the laser beam in the video. It’s much stronger when you’re sitting in front of the machine.
Click here to watch the video at YouTube if it doesn’t play on your device.
Image Source: The image at the top of the page is from The Sewing Loft.


Thank you for sharing this information. I will look into getting one for my machine.