Skip the Binding and Do a Knife-Edge Finish


It’s Perfect for Small and Special Quilt Projects!
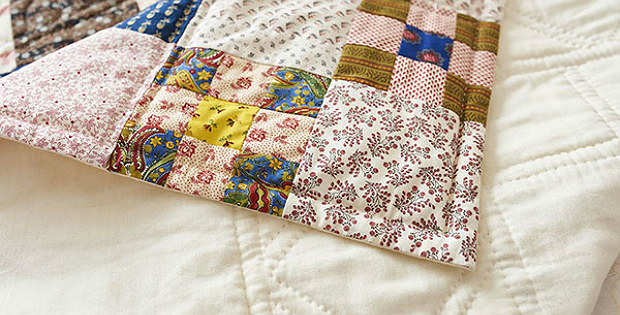
Are you looking for a simpler way to finish a quilt? A knife-edge binding isn’t actually a binding, as no extra fabric is used. Instead, excess fabric from the top and back are folded under to create a neat finish.
You often see knife-edge bindings on antique quilts. They can be used to good effect on modern quilts as well. This finish is perfect for when you don’t want a lot of bulk or a different fabric around the outside edge. It creates a nice flat finish for the edges of a quilt.
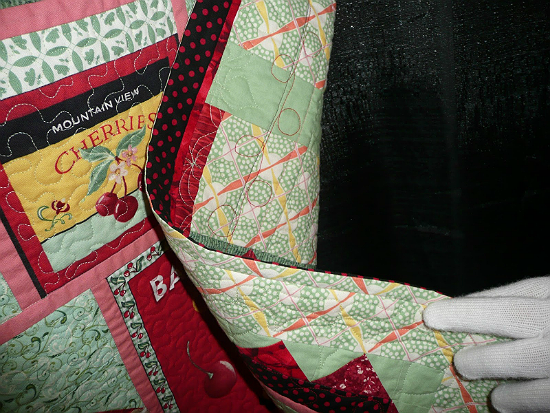
“Cherry Pie”, made and quilted by Jackie Hillman. See more of the quilt here at Come Quilt.
Just keep in mind that this type of finish is not as strong as a regular double-fold binding. Don’t use it on baby quilts, bed quilts, or throws that will be washed often.
However, it’s perfect for wall hangings, pot holders, table runners, and more. It’s an especially nice finish for quilts with irregular edges, like hexie quilts, too (see Bonnie Hunter’s version with instructions here).
This is a simple way to finish a quilt, although you do need to hand sew around the outside edge (or not – see the second article below). The following articles explain how it’s done. Each one goes about it a bit differently so we encourage you to review them both.
“How to knife-edge finish your quilts” from Gathered.
“How to Sew a Traditional or Knife Edge” from Welsh Quilts.
Between the variations, you’re sure to find a method that works well for you.
Keep in mind that you can also achieve the look of a knife-edge finish without (much) hand sewing by turning the quilt. Layer the quilt backing face down on the face-up quilt top laying on top of the batting. Sew around the outside edges leaving a small area to pull the quilt top, batting, and backing through so the right sides show with the batting in between.
Hand-stitch the turning gap closed, lightly press along the edges making sure all the layers lay flat, and topstitch along the edges for a nicely finished look. The edges won’t be quite as flat since you’ll have extra batting there but it’s still an attractive finish. Then, do the quilting and you’re done.


