Must-Know Tips For Caring for Your Cutting Mats


Clean and Moisturize Your Mat to Keep it in Top Shape!
Self-healing cutting mats are among a quilter’s most important tools. They can be a bit pricey so it makes sense to keep them in good shape. Fortunately, it’s not hard to clean them up and extend their life. With care they will provide good service for many years.
Every once in awhile you’ll want to clean off little threads and fibers that get caught in the cuts and keep the mat from “healing”. A soft scrubber (for dishes), an eraser or a soft brush like a toothbrush or mushroom brush will make short work of removing leftover fuzz. A light touch is all it takes. Just make sure the tool you’re using is soft enough to prevent scratching the mat.
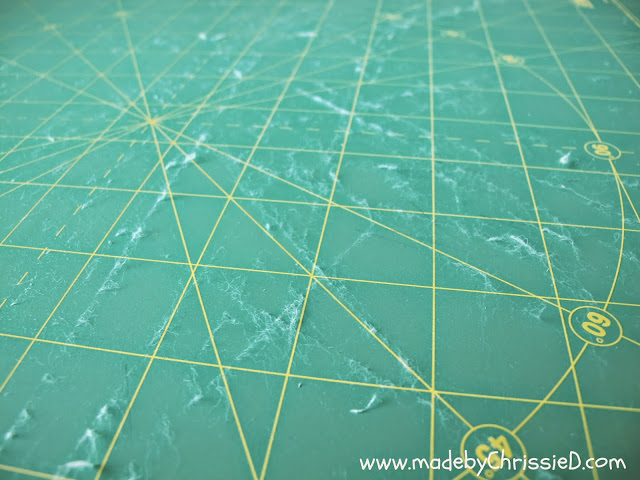 Mat after cutting up leftover batting to piece into large sheets. Photo from Made By Chrissie D.
Once the mat is clean, it’s time to moisturize it and renew the surface. This involves soaking it in a vinegar and water solution in the bathtub or other large container. Ideally, your mat should lie flat while soaking. However, if you have an extra large mat you may need to let it bend up the side and reposition it gently from time to time so the whole surface gets a good soak.
 Adding vinegar to the water in a bathtub. Photo from National Quilters Circle.
For soaking, use cool water, never warm or hot as that can warp the mat. Use a solution of ¼ cup white vinegar per gallon of cool water and let it soak for 15 to 20 minutes. Add a bit of mild dish soap, like Dawn or Ivory, and use a soft brush to gently scrub the surface of the mat (the key word here is SOFT). This will get any straggler fibers that may still be trapped in the cuts.
In the process of cleaning your mat this solution will also moisturize it, making it supple again. Your rotary blades will last longer, too, since they will be cutting into a softer surface.
Once done soaking, rinse it with cool water to remove all residue.
Dry the mat with a soft towel or let it air dry. Make sure it is flat while drying so it doesn’t warp.
Tips for Prolonging the Life of Your Self-Healing Cutting Mat
In a nutshell, keep your mat clean, moist, flat, away from heat sources and vary where you cut on the mat. Remember, your cutting mat is not a coaster for your coffee cup or a spot to use your laptop!
- Store it flat, not rolled up or standing on edge. This can cause the mat to crack.
- Do not iron on your mat or set hot beverages on the surface. Also, don’t leave it in a hot car, near a hot surface (a heater or such) or in direct sunlight. Heat will cause your mat to warp.
- Mats can shatter when cold so be extra careful when transporting them during the winter.
- Moisturize your mat regularly using the soaking method described above.
- Vary where you cut on the mat. Repeatedly using the same cutting lines will cause deep grooves that won’t heal and can eventually cut through the mat.
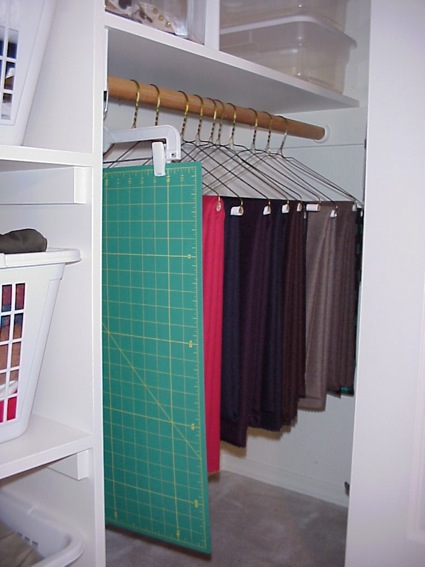 Storage idea from Organized Home.
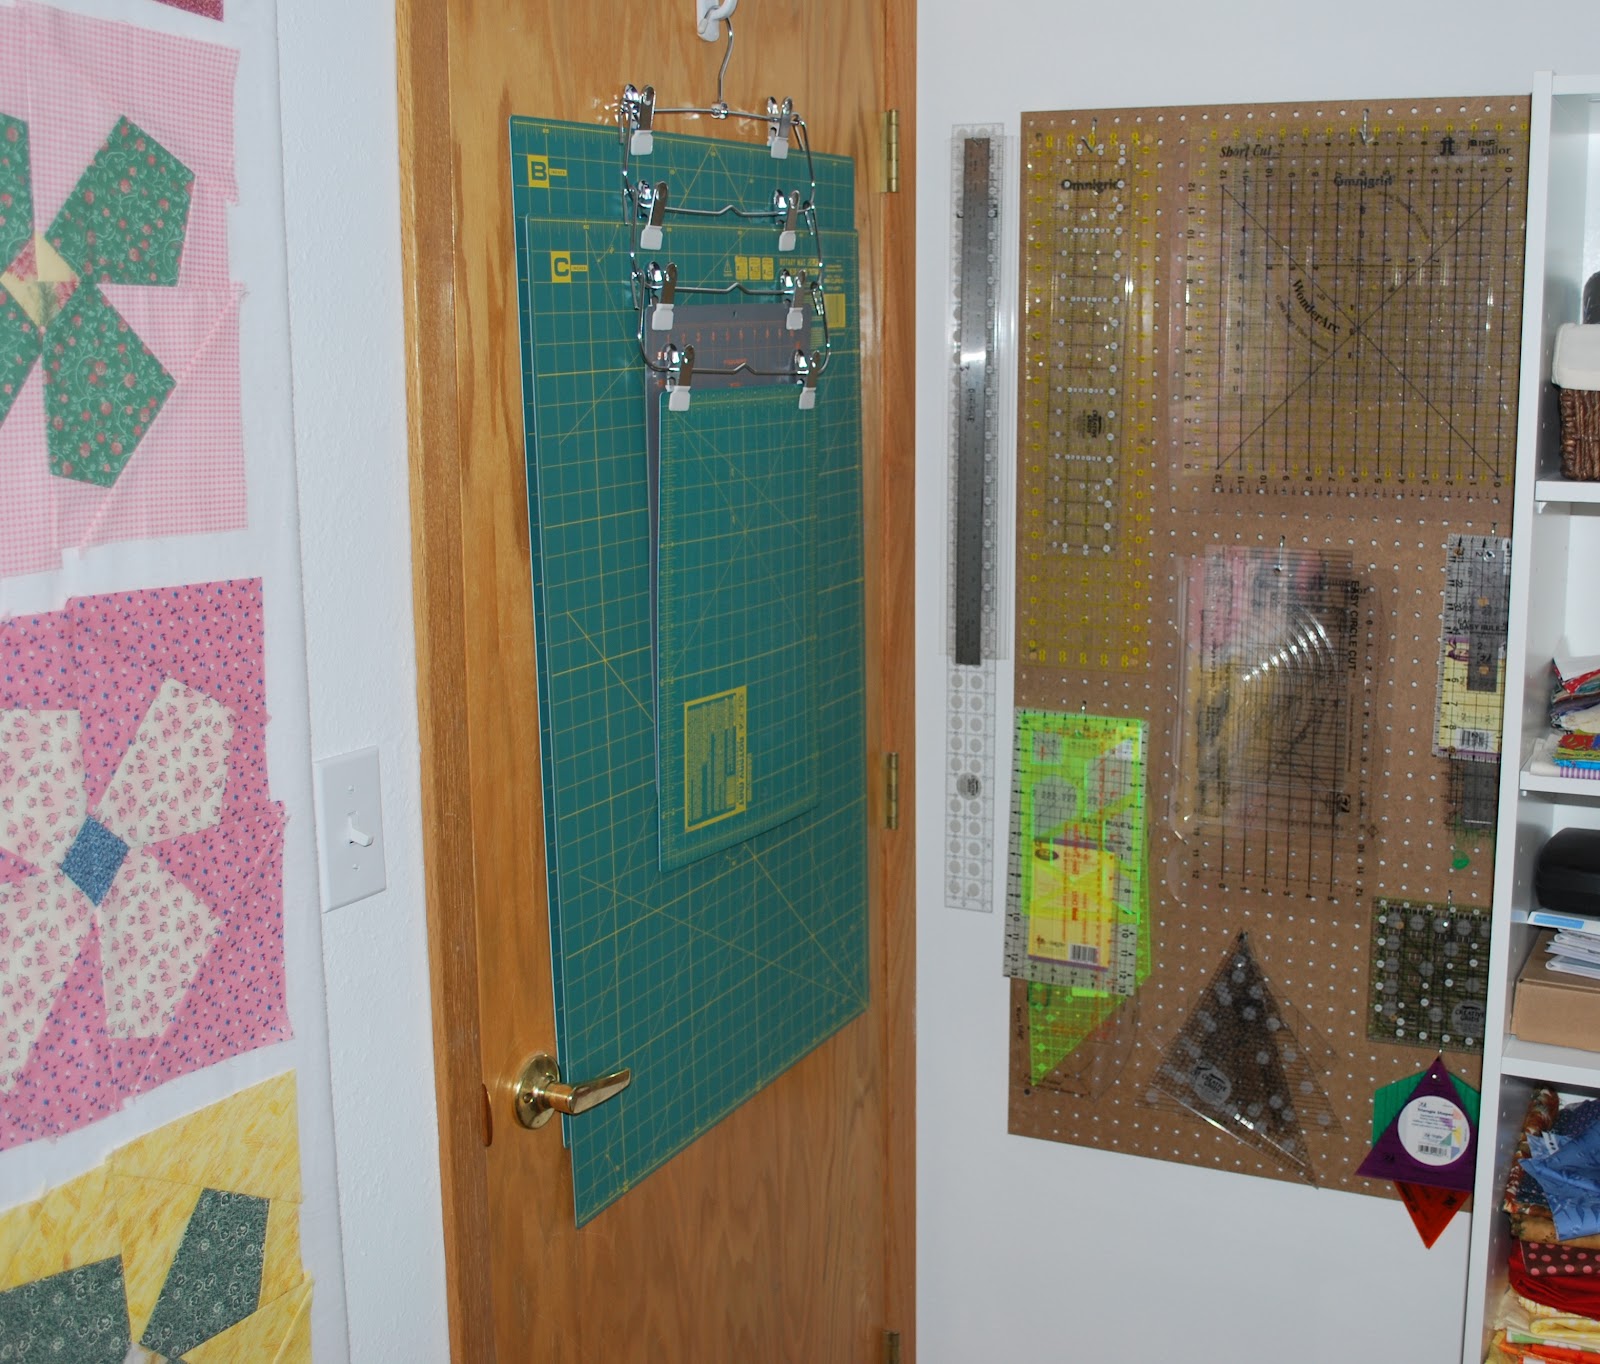
Several mats hung together with a skirt hangar. From Double Nickel Quilts.
How to (Maybe) Fix a Warped Cutting Mat
Once a mat is warped manufacturers say it will never become flat again. However, we’ve seen several instances where mats have been successfully flattened. This may or may not work for you, but it’s worth a try before pitching the mat. Just keep in mind that while your mat may return to its flat state, the measurement lines may be slightly off.
The general concept for flattening a mat is to gently heat it, layer it between two perfectly flat surfaces and weight it down for several hours. You’re likely to get the best results if you lay the mat on a flat surface, heat it with a hair drier or iron, and cover it completely with another flat surface like a piece of heavy glass or plywood. Put boxes of books or such on top to weight it down.
Click here for several ideas for flattening a mat.
Heidi Salm was successful using this method:
“I wasn’t able to iron it to flatten it but I took Hedi’s idea and adjusted it. I took a towel and ran it under hot water. I then heated it in the microwave at 30 second intervals to get it hotter. Then I placed the hot towel on the mat and layered it like Hedi did. This finally fixed it. It took me 2-3 tries with the iron before I tried the hot towel trick. Don’t give up–something will work!!! :)” – Rhonda Russell
If you are simply unable to flatten your mat, cut it up into smaller pieces to use where you don’t have room for a larger mat.
We hope these tips help you make the most of your cutting mats. With care they will provide many years of service. Please leave a comment below and add your suggestions for extending the life of cutting mats.
Sources:
Caring for Your Self-Healing Cutting Mat
How To Clean And Care For A Self-Healing Cutting Mat
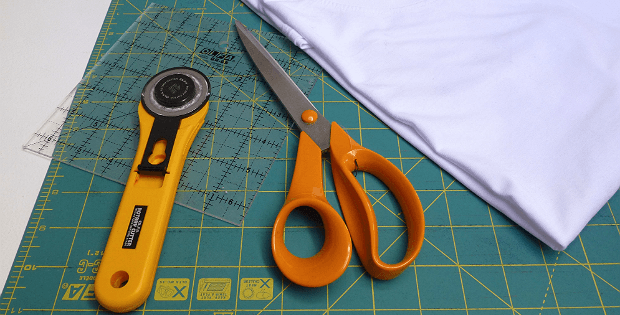
Image at the top of the page from Sew Chet.


Why do you add vinegar?
I really don’t know but that’s what is recommended and it works!
I left mine out in the sun which worked a treat
I was thinking putting on a sidewalk in Texas in the summer would work well and quickly!
My mats are old and I am going to do this! Thanks !!!
Never ever thought about moistening the board for refurbishing. Doing this TODAY. So glad a came across your post. Thank you.
Put my large warped mat under the fireplace rug with fireplace on. Put a few heavy books on it. Worked well.